Photo Essay: Churn Your Own Butter
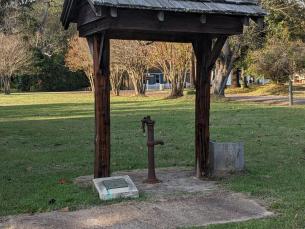
By: Sarah ReapDavidsonville Historic State Park in northeast Arkansas preserves Arkansas’s first platted (planned) town and the stories of the people who lived here. The people of Davidsonville churned butter as a necessary chore to keep their households running smoothly, but today is a fun activity to connect us to the past. In this photo essay, we will explore the very important task of churning butter and how we can make our own version at home.
Just like we have chores today, the people of Davidsonville had a long list of tasks to keep their household running smoothly. One of those tasks would be to churn butter. There are many different methods of making butter, but the most common way during the time of historic Davidsonville (1815-1830) would have been in a butter churn. Churns were most often made of clay or wood like the ones seen below.
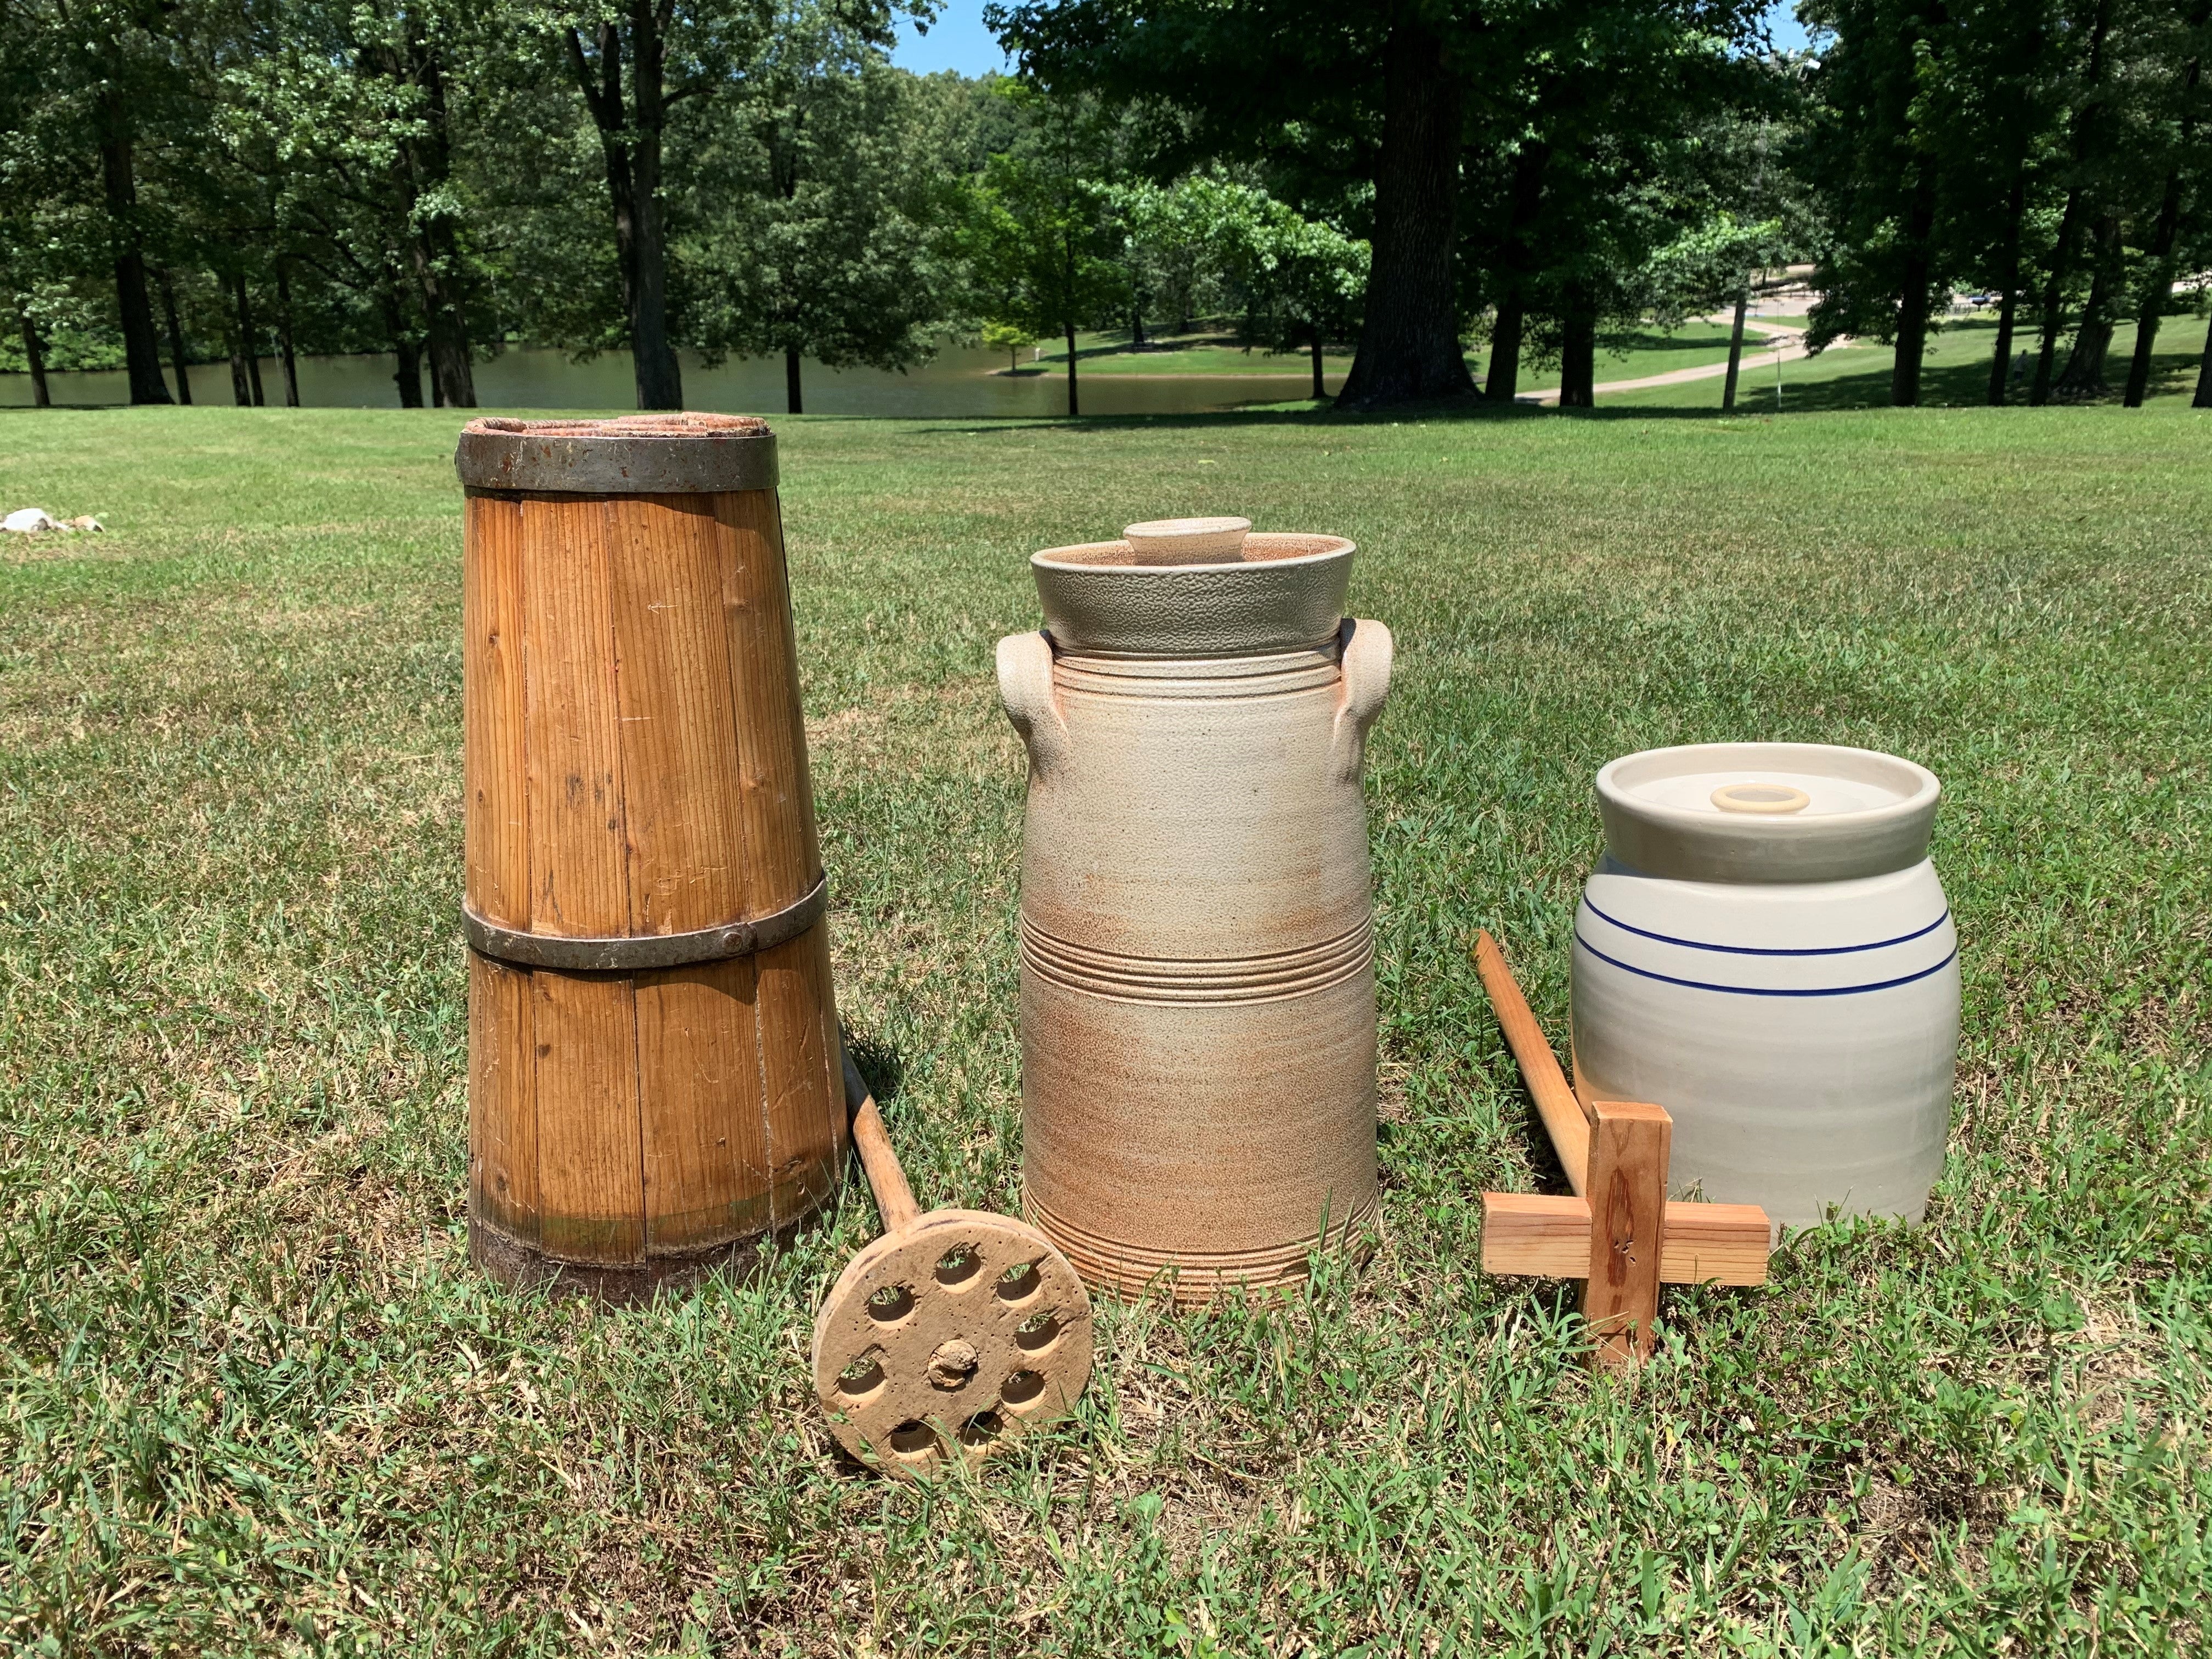
Inside the churn is a wooden stick, called a dasher. The dasher would be moved up and down to separate the yellow butter fat from the milk fat. Just like churns come in different shapes and sizes dashers can vary too. Some dashers would have a cross pattern at the end or a circle with holes in it like the two seen above.
The butter-making process would begin by milking cows in the morning and letting the milk sit in a cool spot until fatty part of the milk, called cream, rose to the top of the container. Once the cream rose it would be skimmed off and added to the churn to be churned into butter.
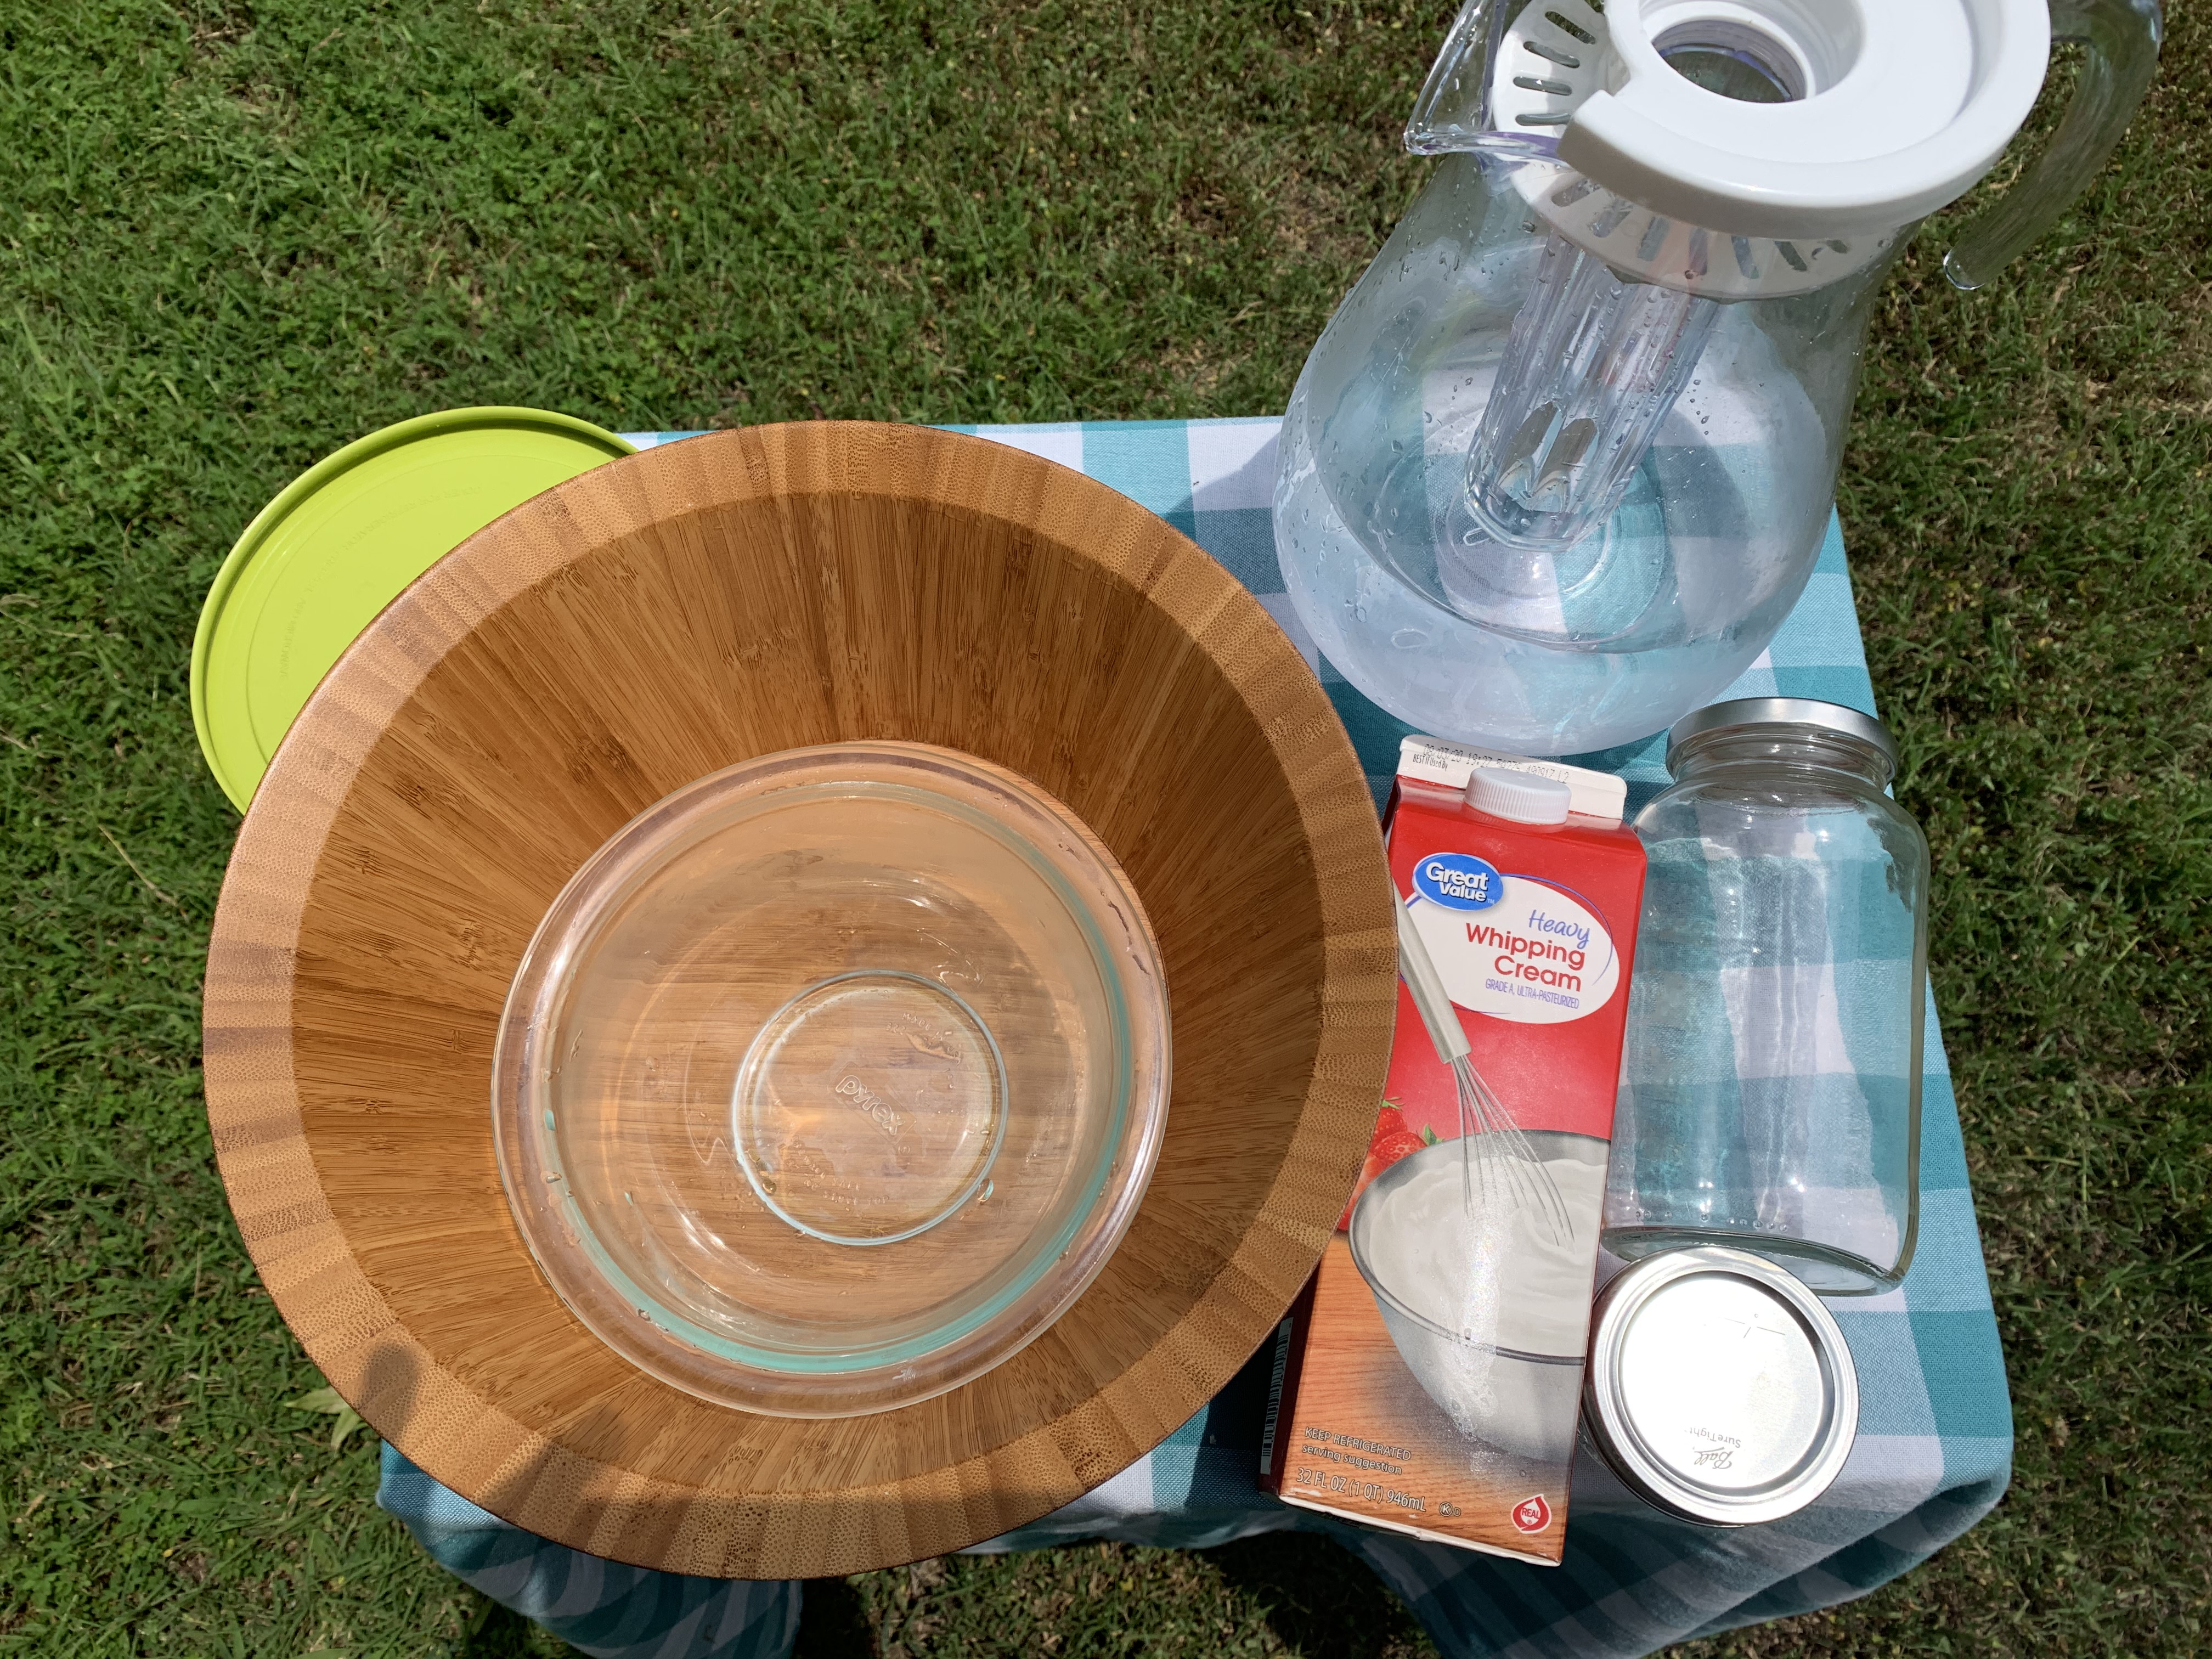
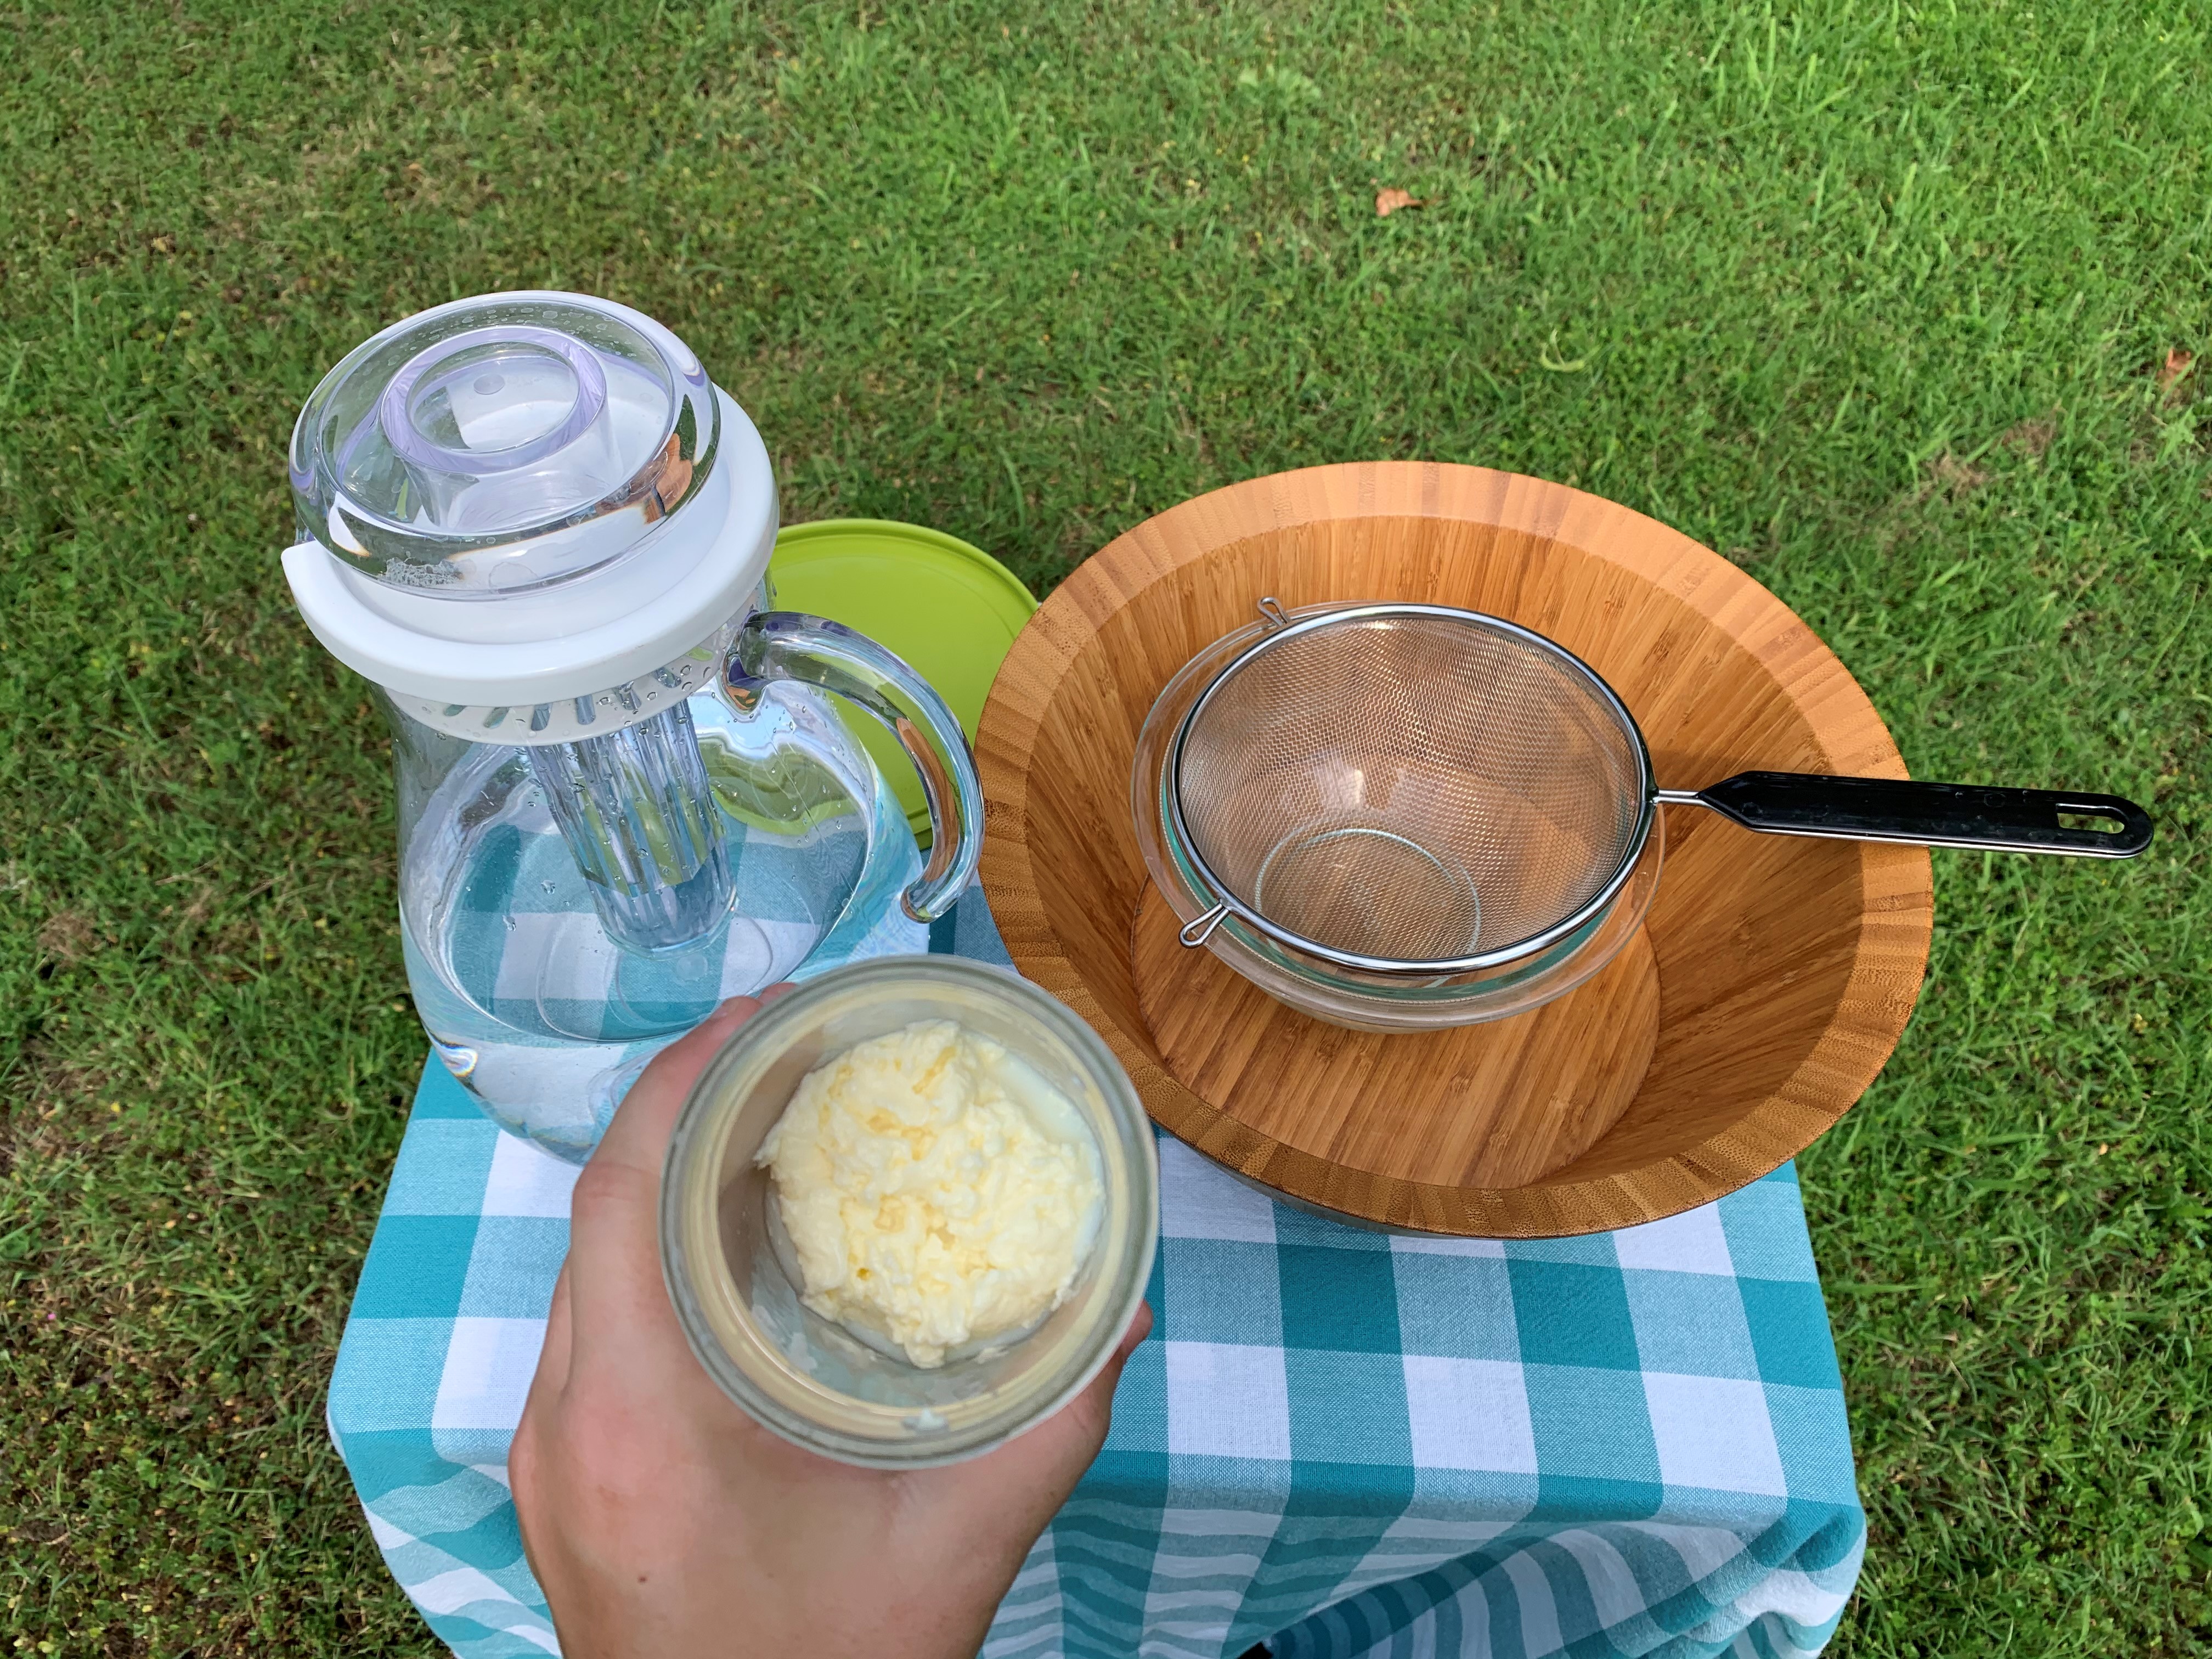
Today we have the luxury of grocery stores and refrigerators and don’t have to worry about milking the cows or spending all day churning butter. However, it can still be a fun task and a good skill to learn. To churn your own butter all you will need is a mason jar, heavy whipping cream, two containers (one for buttermilk and one for the butter), a bowl, and cold water.
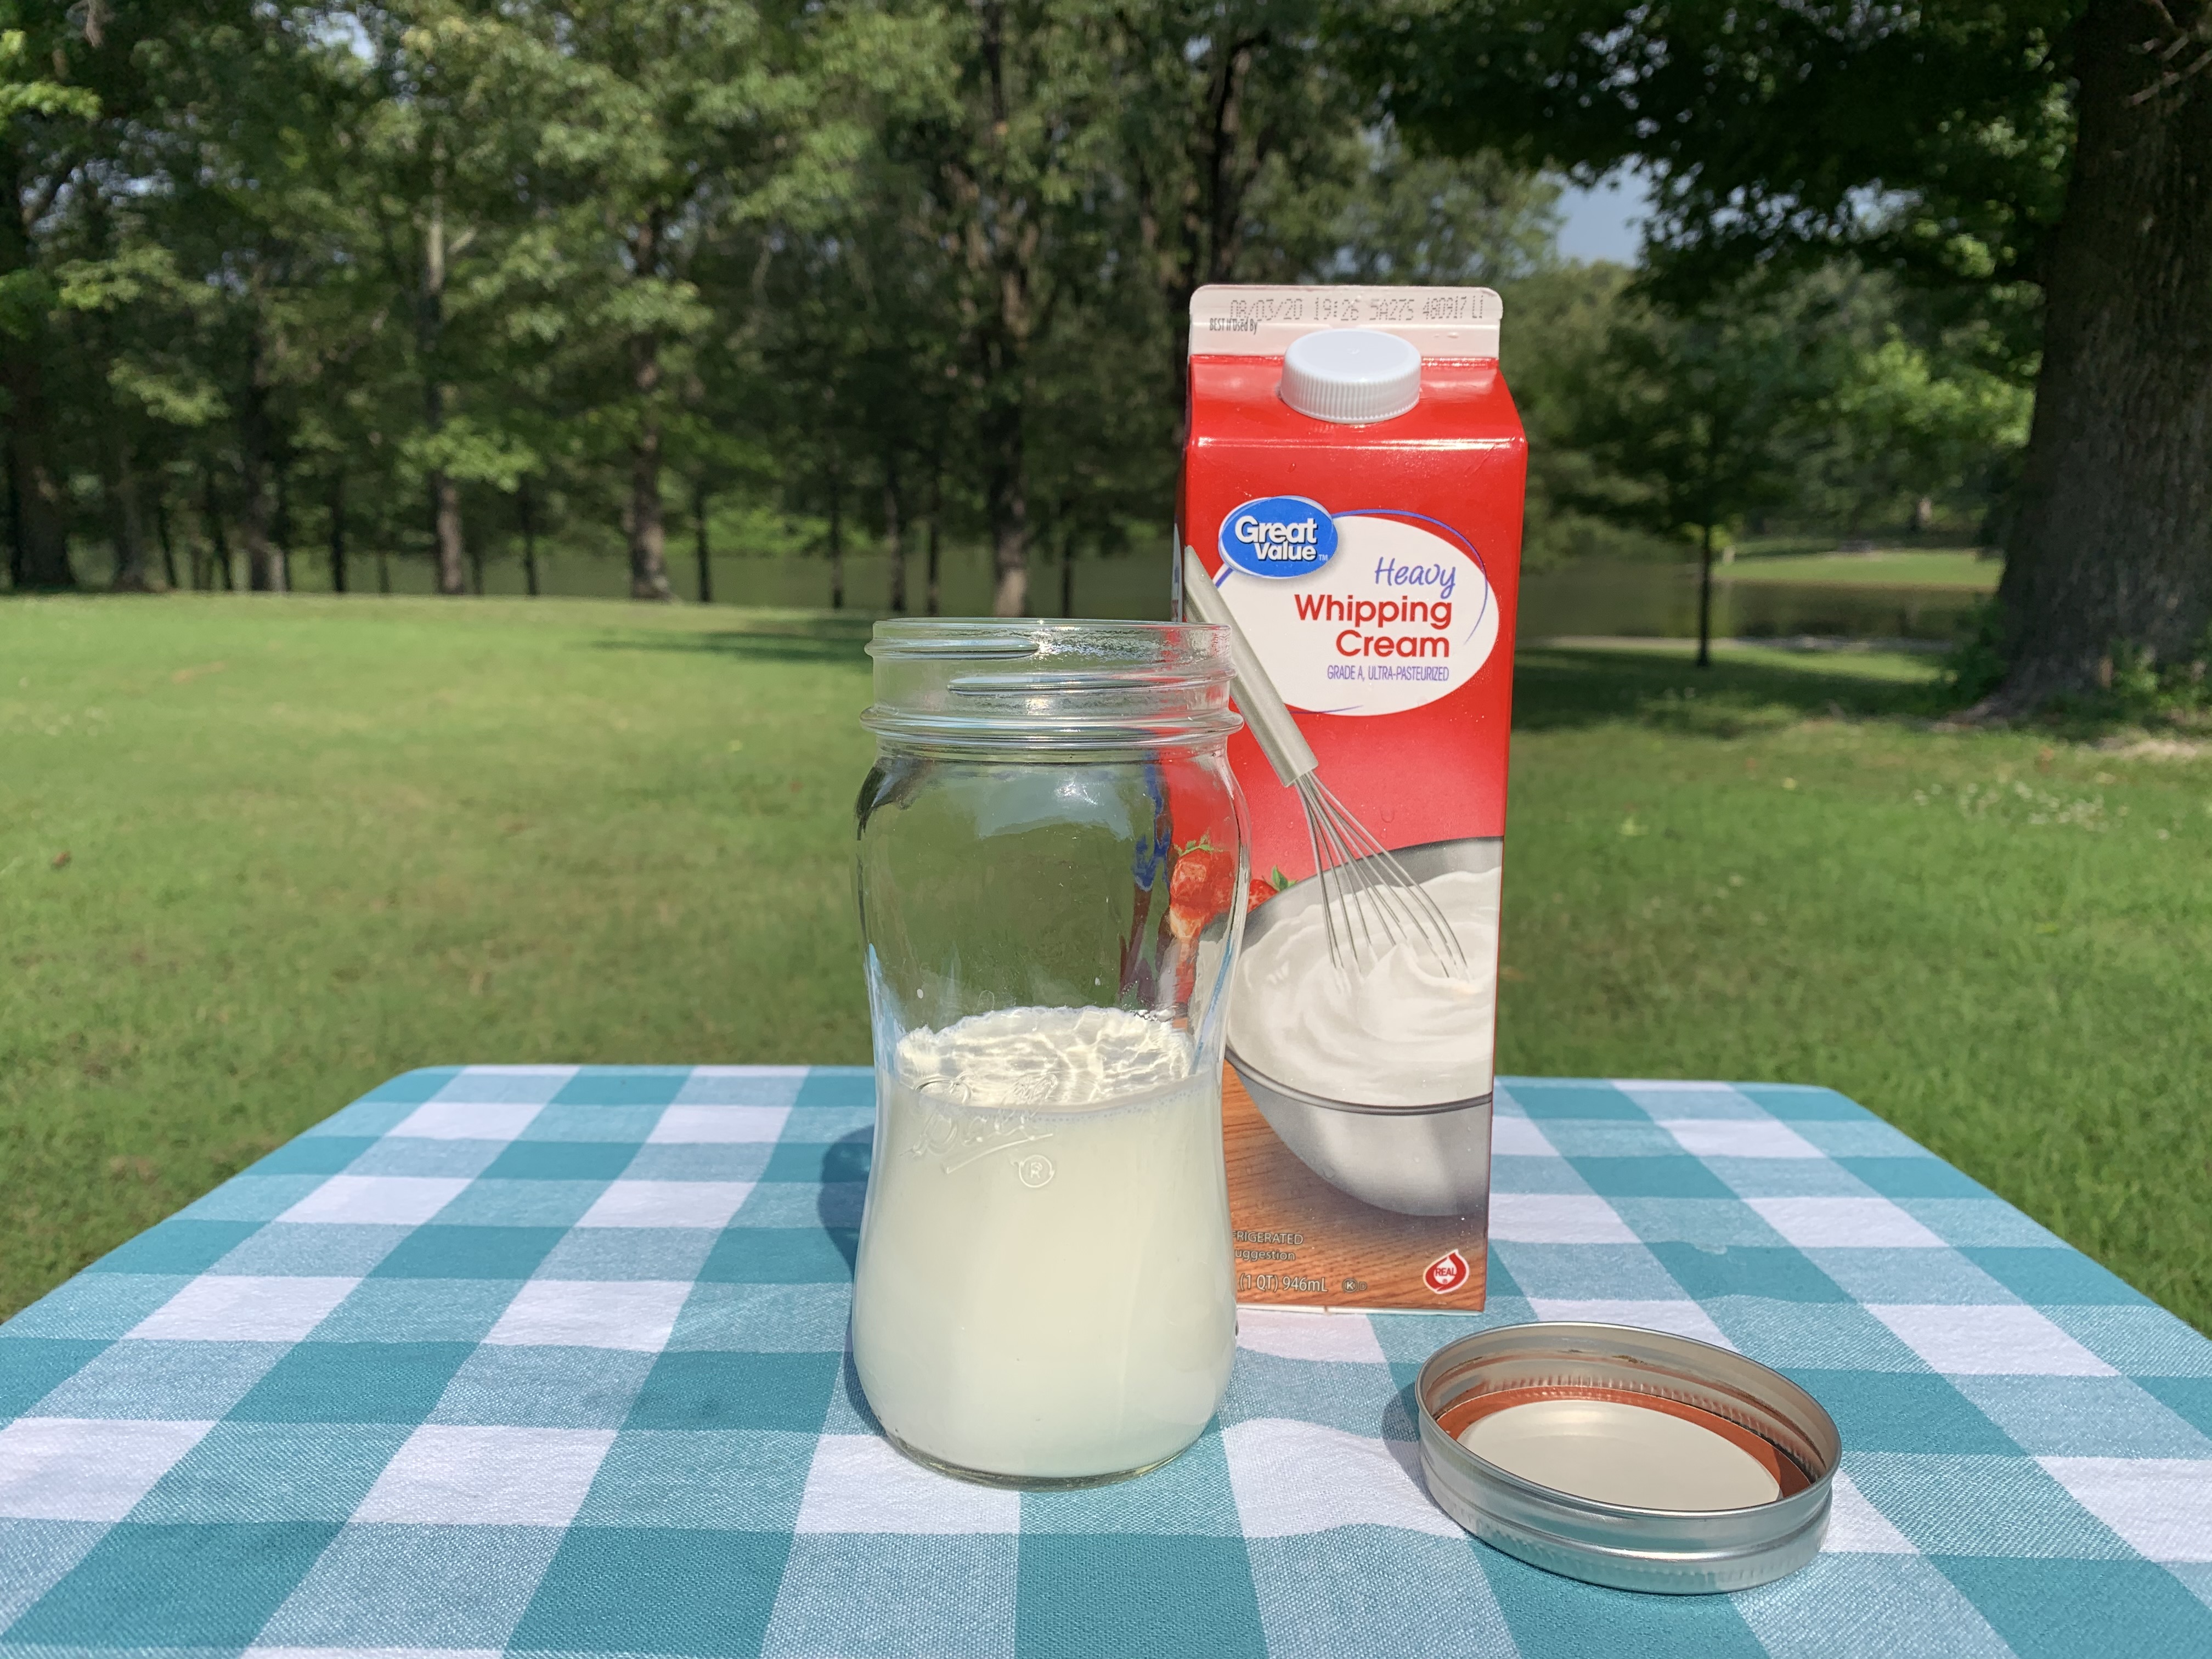
The first thing you will want to do is fill the mason jar halfway with the heavy cream. Cream is the only ingredient you will need unless you want to make different types of butter such as salted butter or herb butter.
To help the process go quicker it is good to let the cream get to 60 degrees Fahrenheit, we left ours out for about an hour and a half at room temperature.
Next, you will start shaking the jar back and forth for about 8 minutes. This is a fun task to do with multiple people as you can pass the jar around and everyone gets a turn.
Around two minutes the cream in the jar will start to look like whipped cream and it will feel like nothing in the jar is moving - but keep shaking!
 After two minutes the cream in the jar should look fluffy like whipped cream.
After shaking for about 5-6 minutes, the cream should start to look more like ricotta or cottage cheese. You’re close to having butter, but not quite there yet. Keep shaking for about two more minutes.
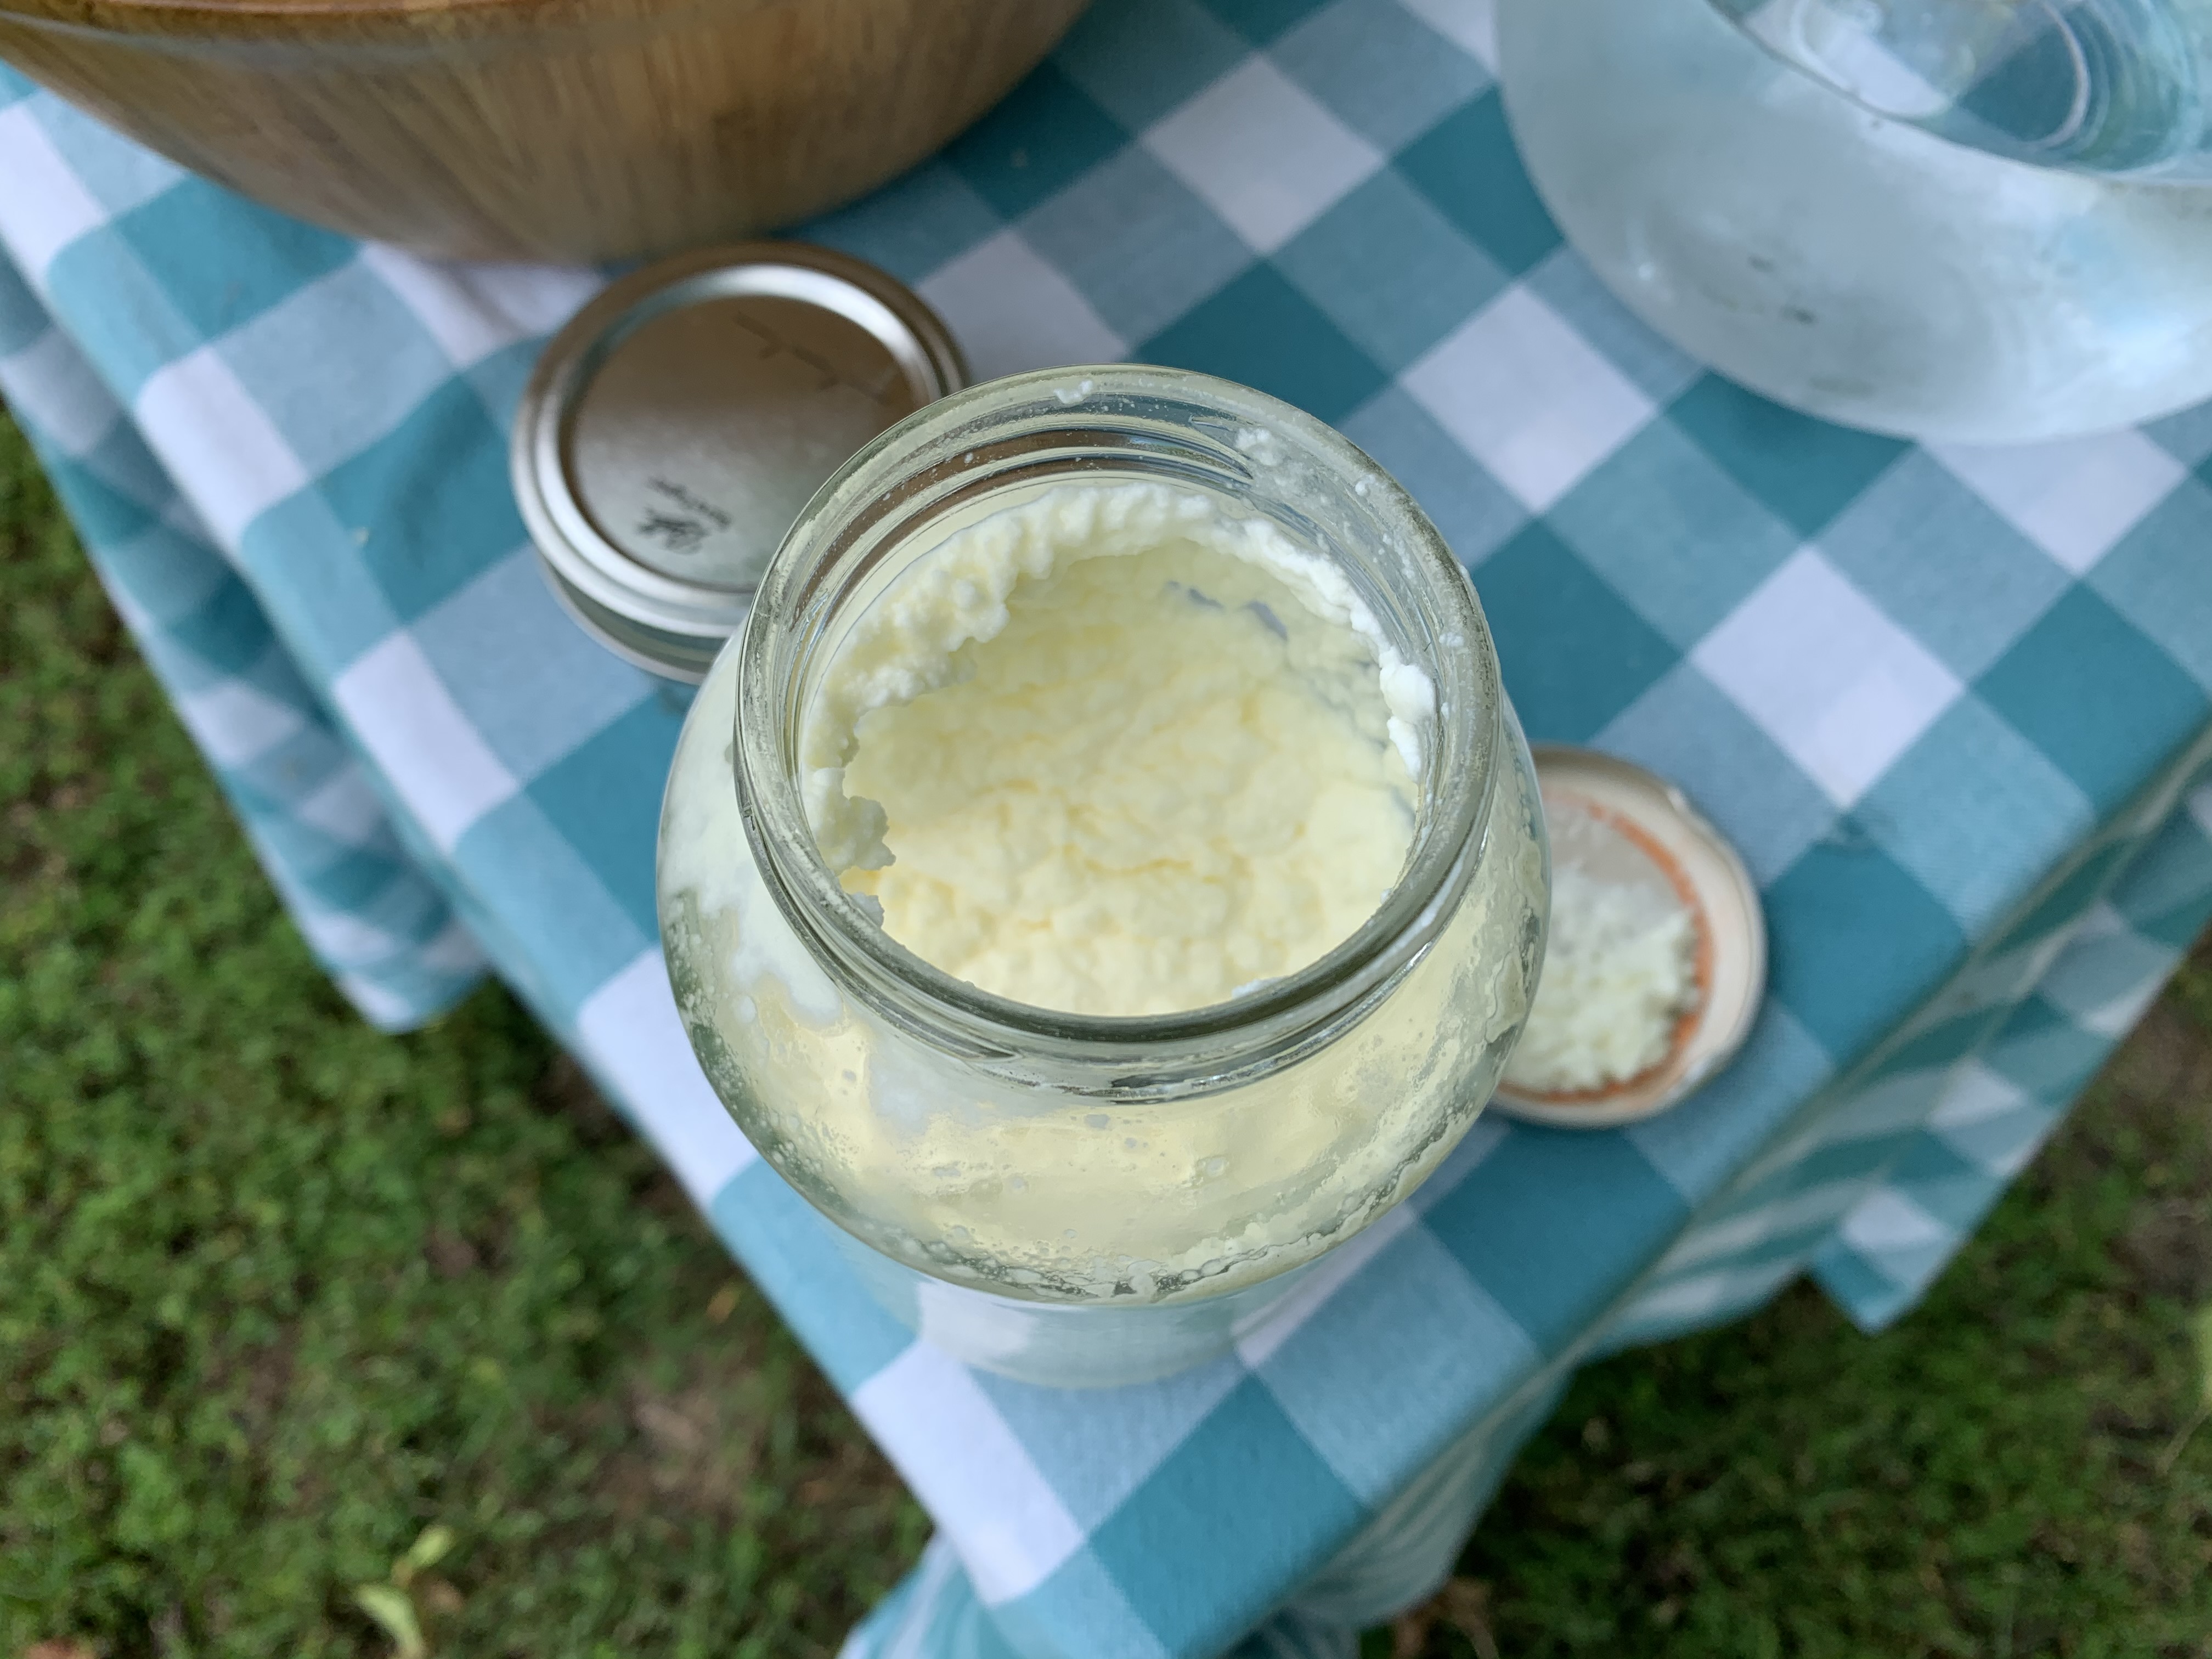
After an additional one to two minutes you should start to see the buttermilk separate from the butter and you will see the butter form into a ball. Once you see the ball of butter forming, shake the jar for an additional 30 seconds and remove the lid.
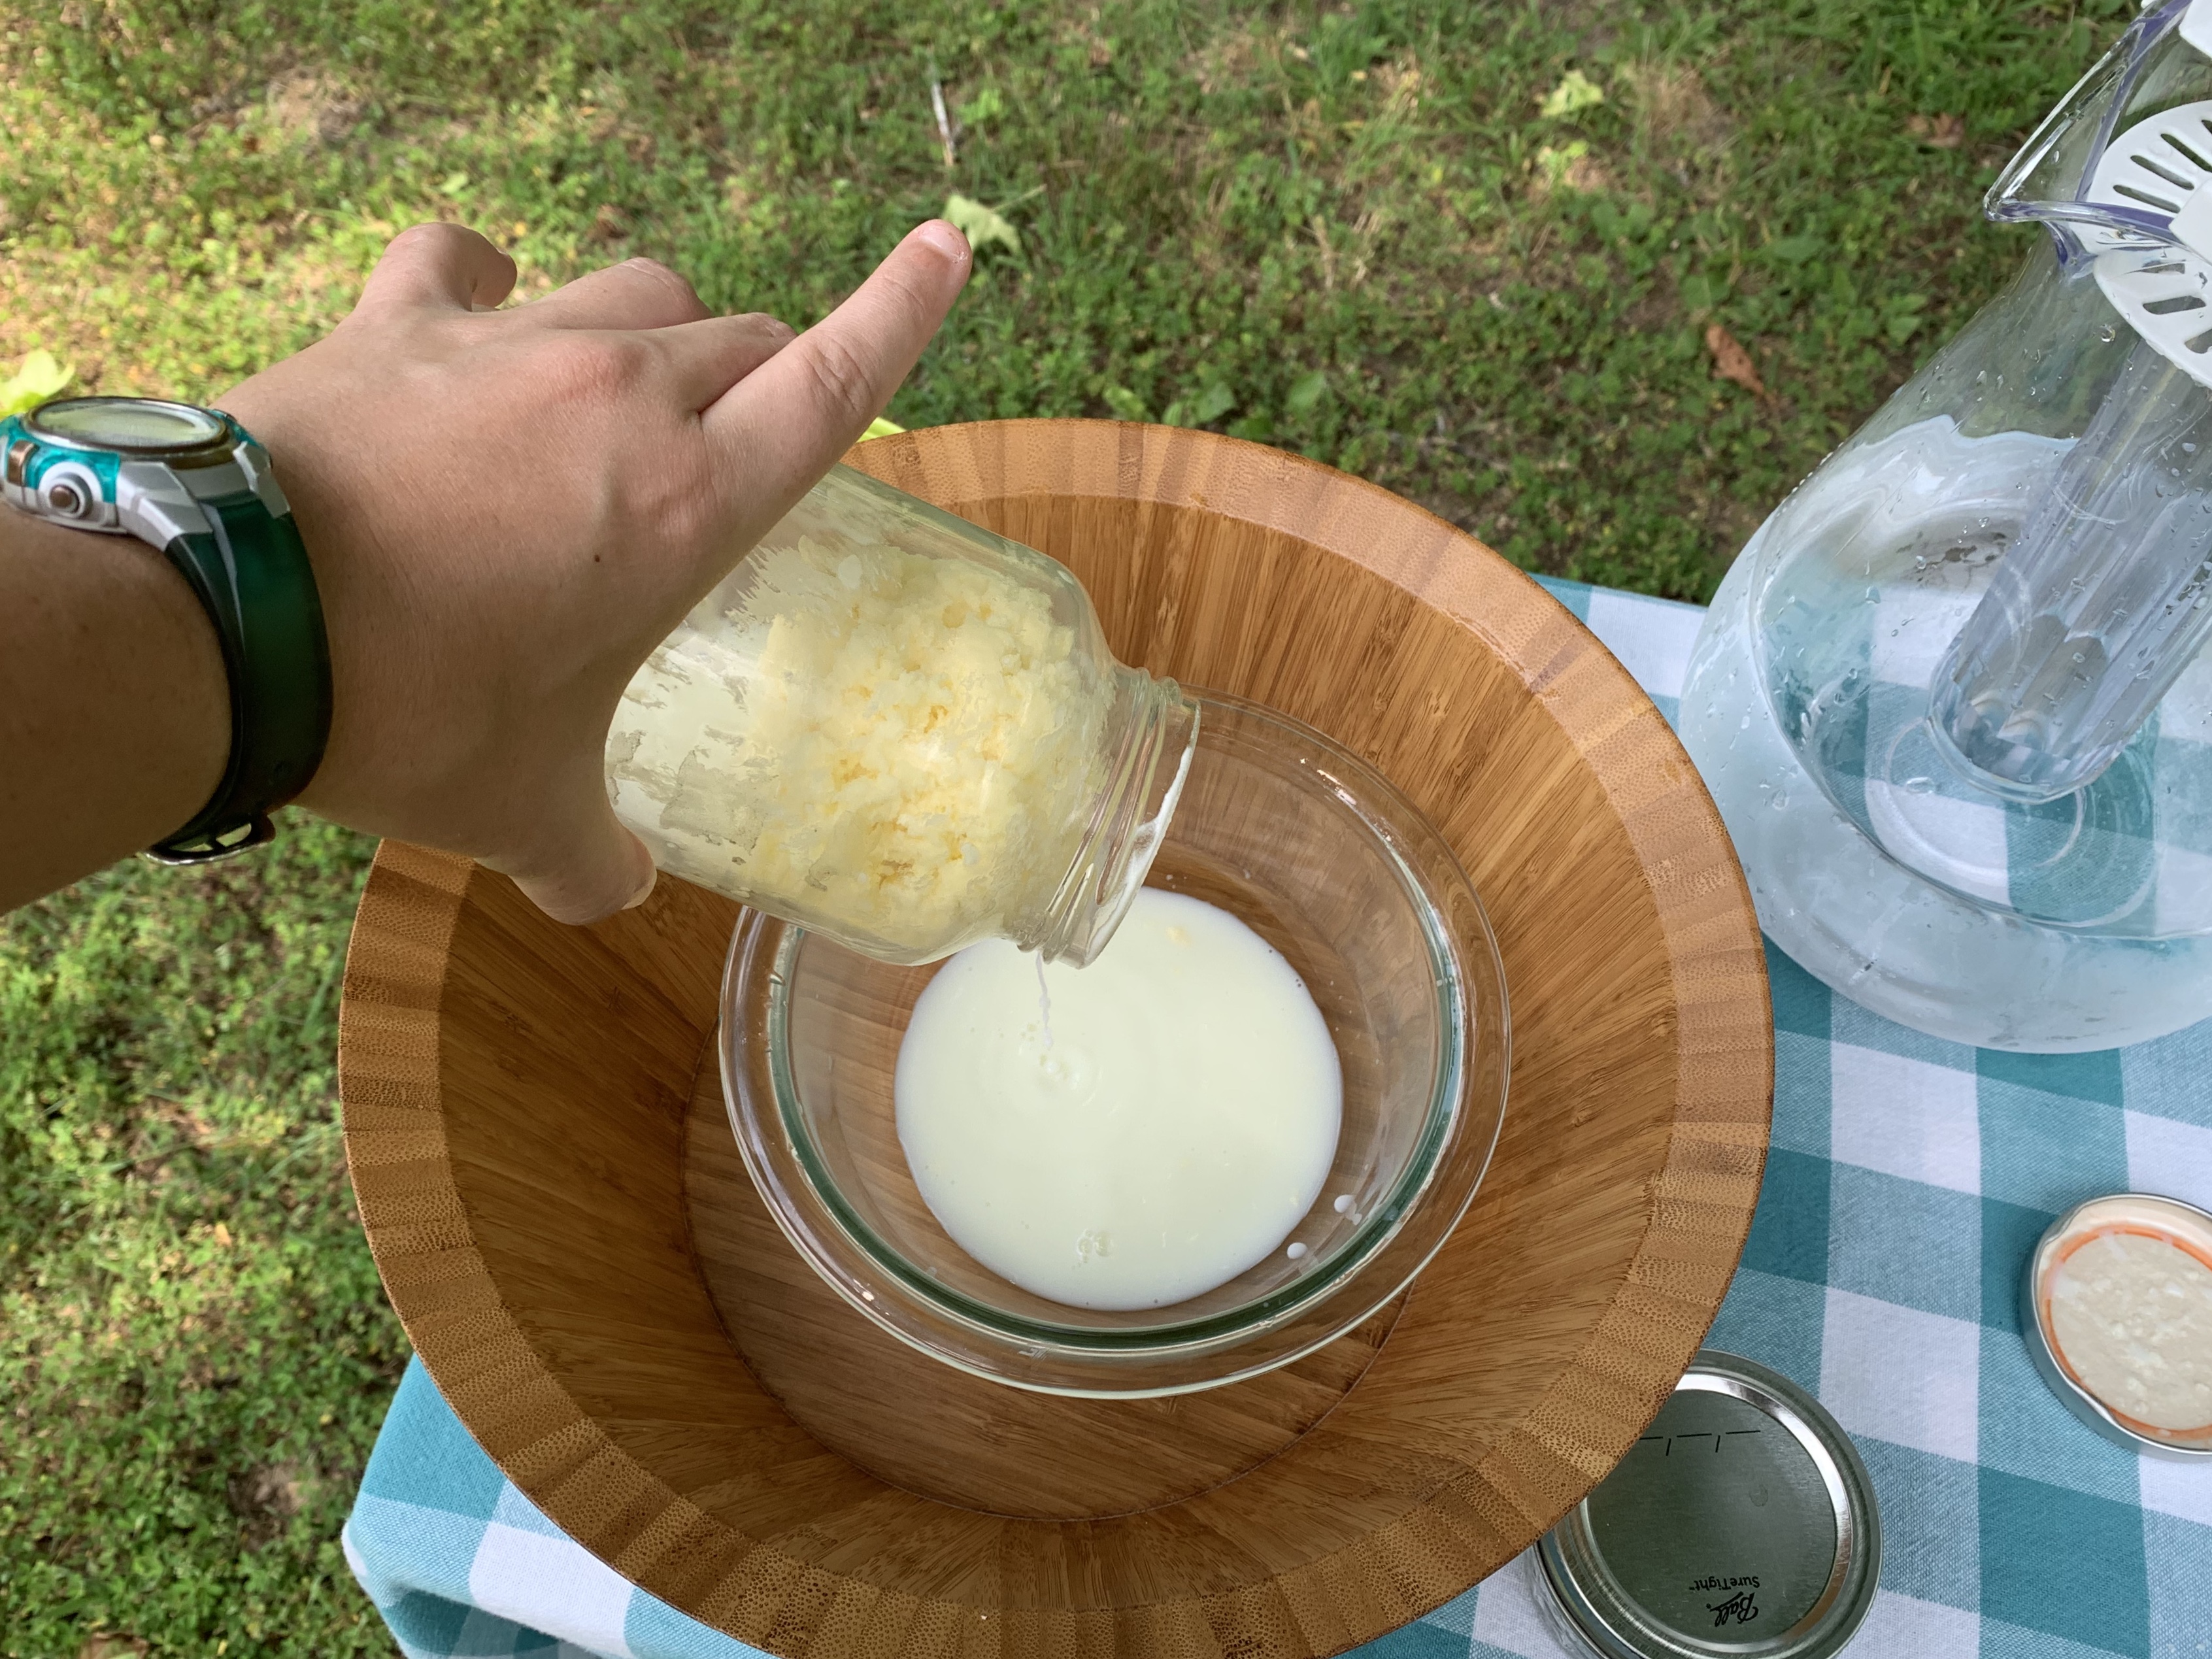
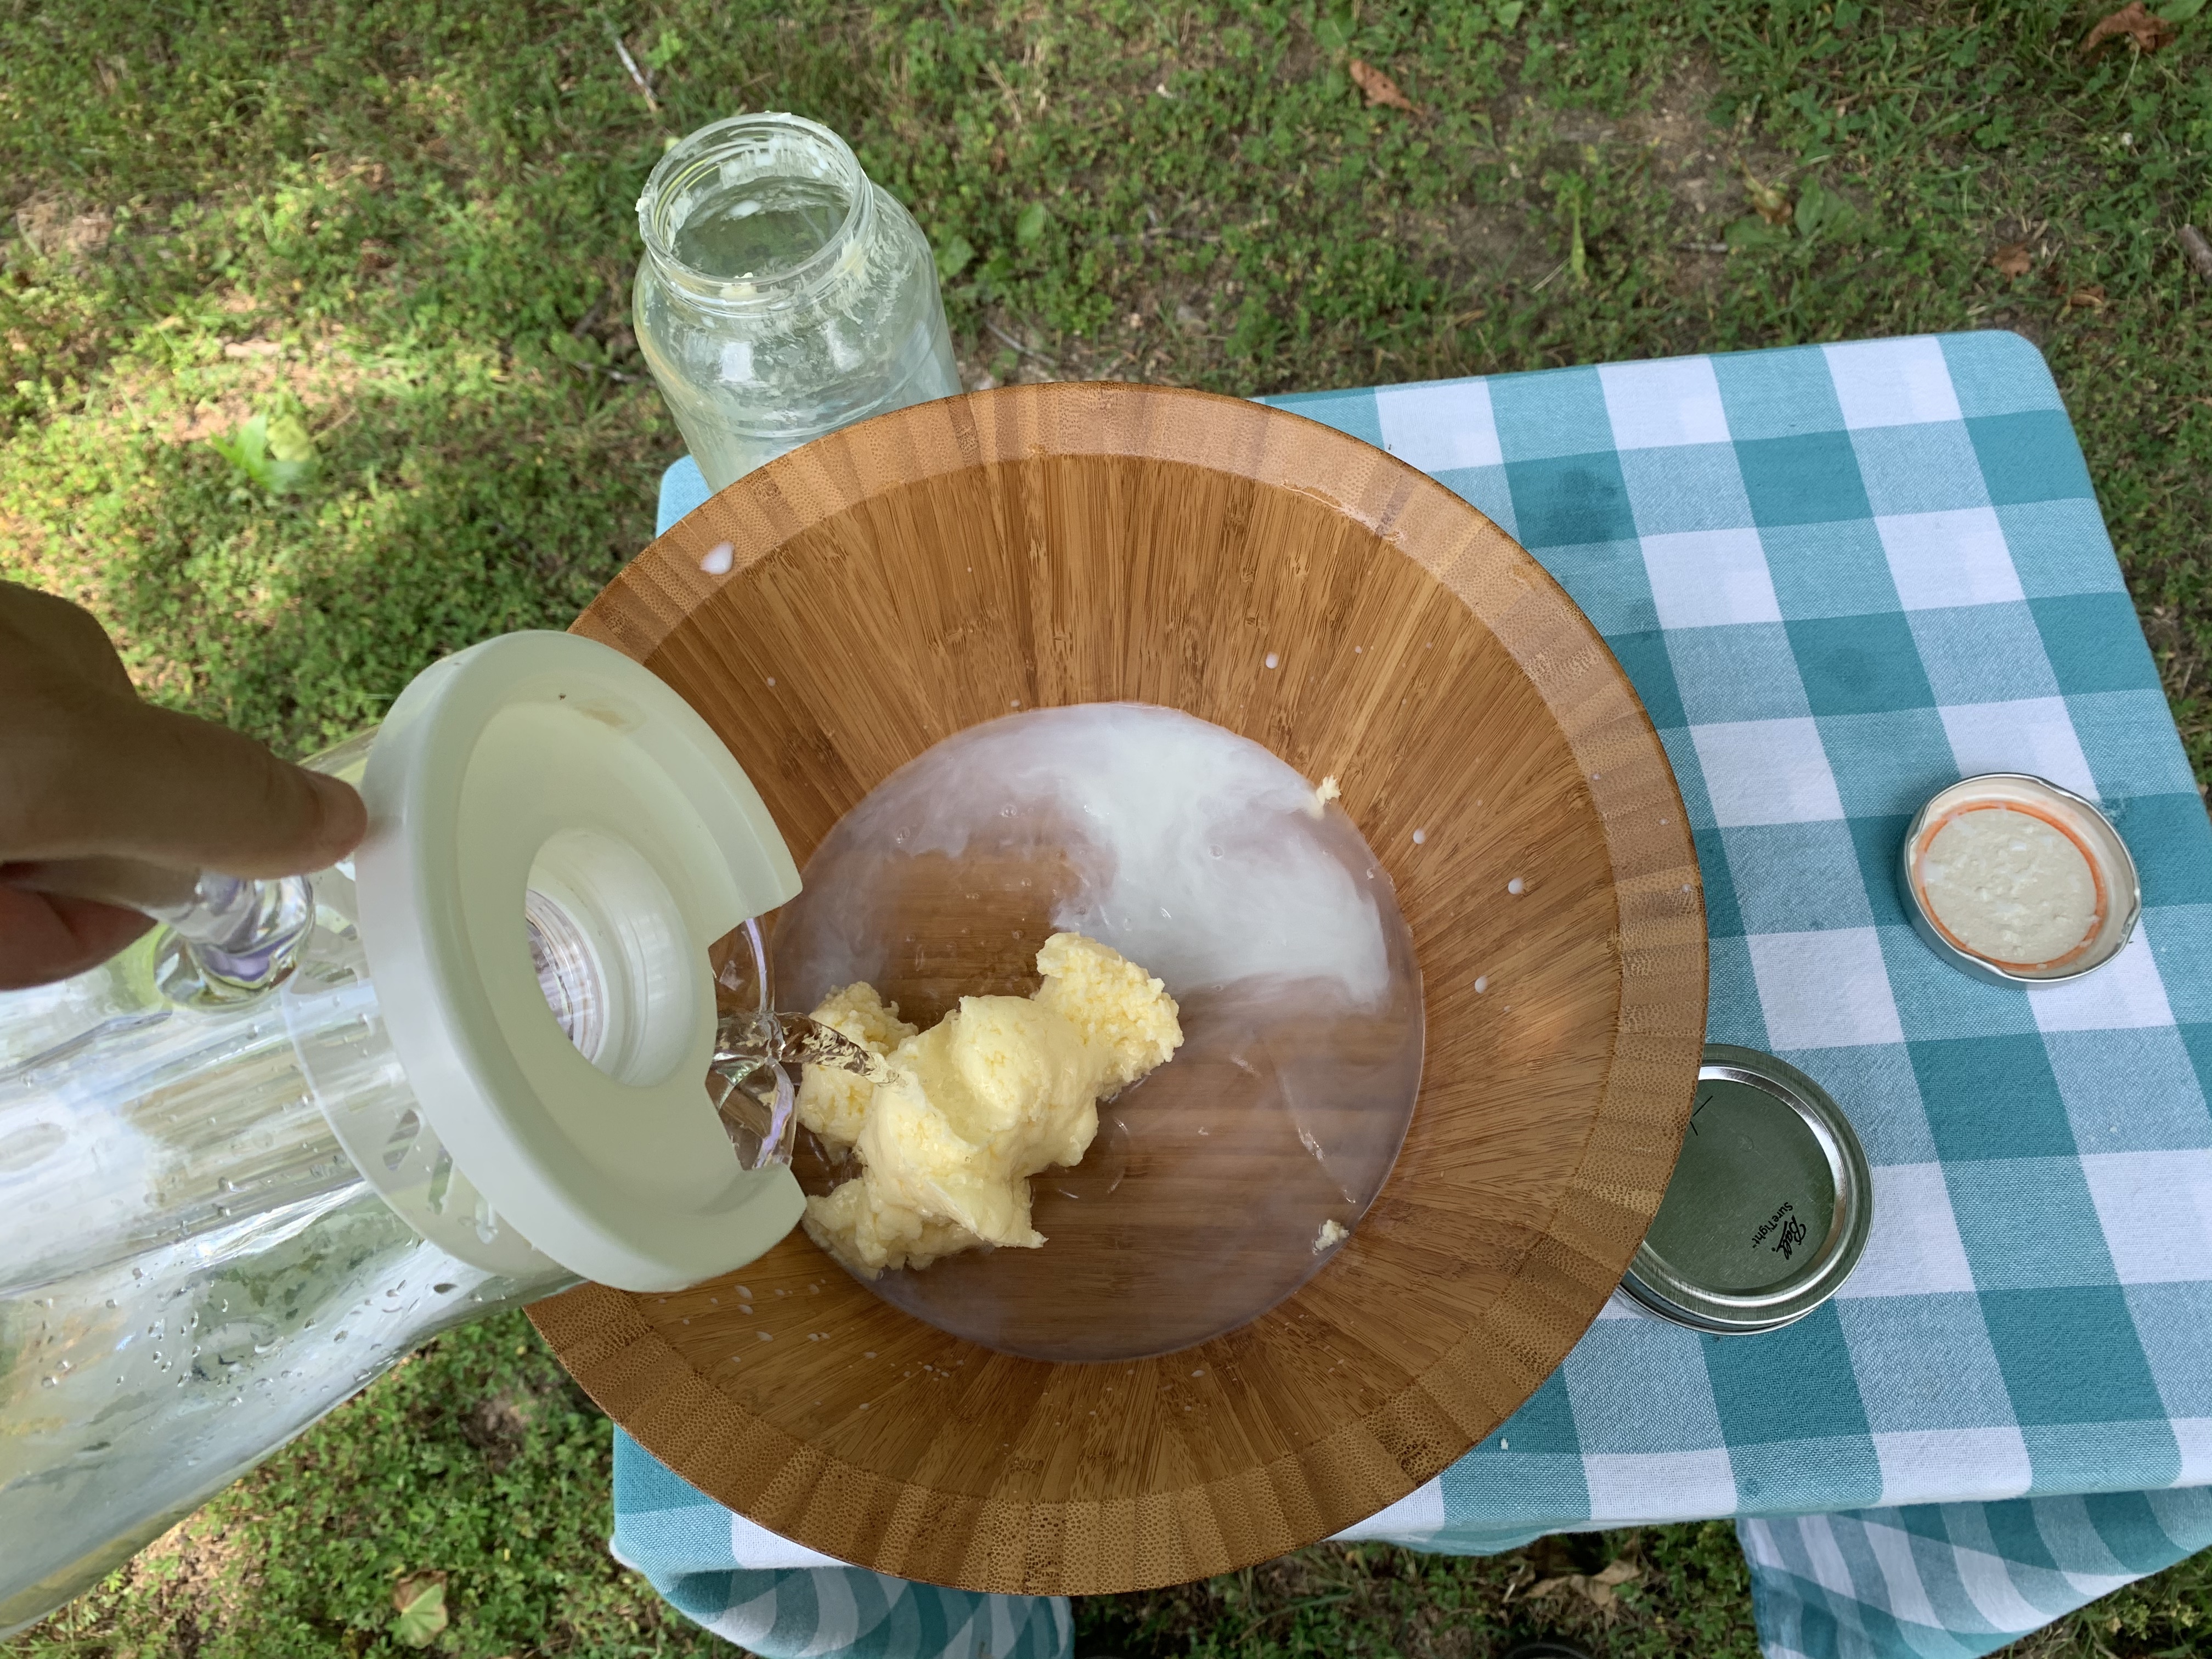
Once the ball of butter has formed and your lid is off, it is time to separate the butter from the buttermilk. This can be done using a strainer or by carefully pouring out the buttermilk and keeping the butter in the jar, using the jar lid as a makeshift barrier. Your buttermilk can now be used in recipes that call for it, such as buttermilk pancakes or biscuits.
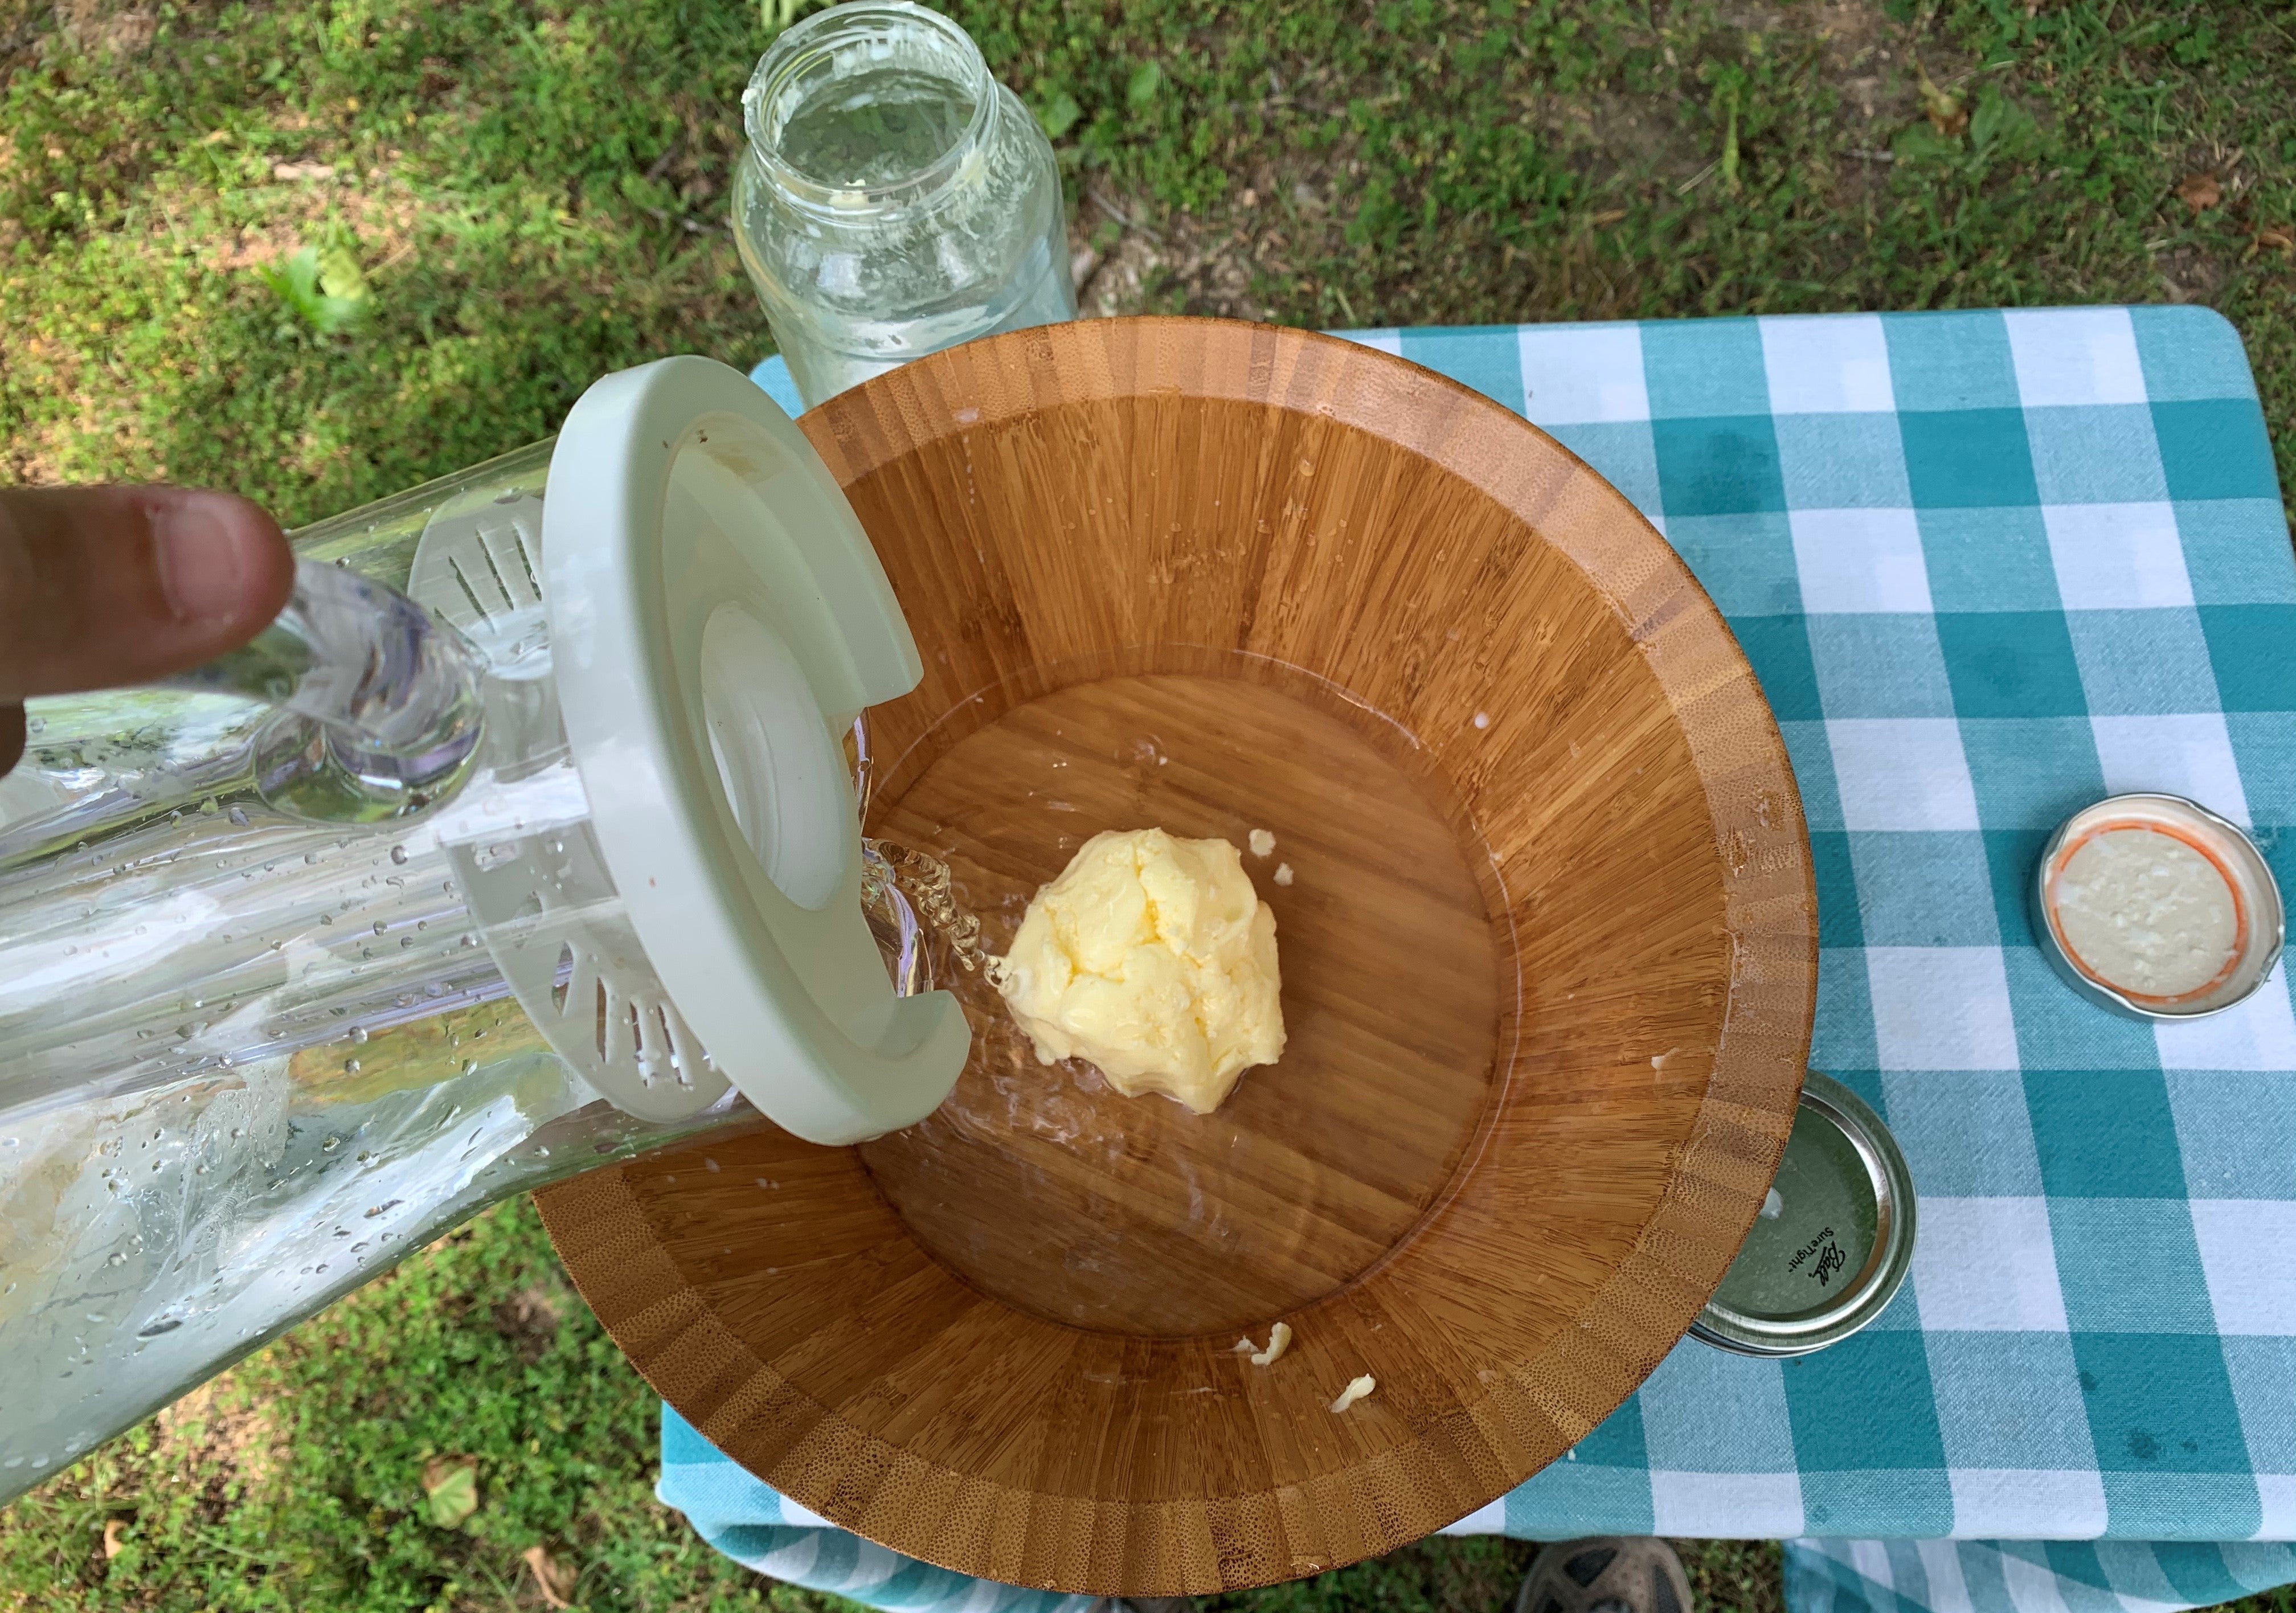
Once you remove the buttermilk, it is now time to remove and wash the butter. As you can see in the photo there is still some buttermilk surrounding the butter that needs to be washed off so that our end product is pure butter.

To wash the butter you will need cool or cold water. When you pour the water over the butter the liquid coming off will be milky or cloudy. Discard the liquid and pour water over the butter ball until the water runs clear.
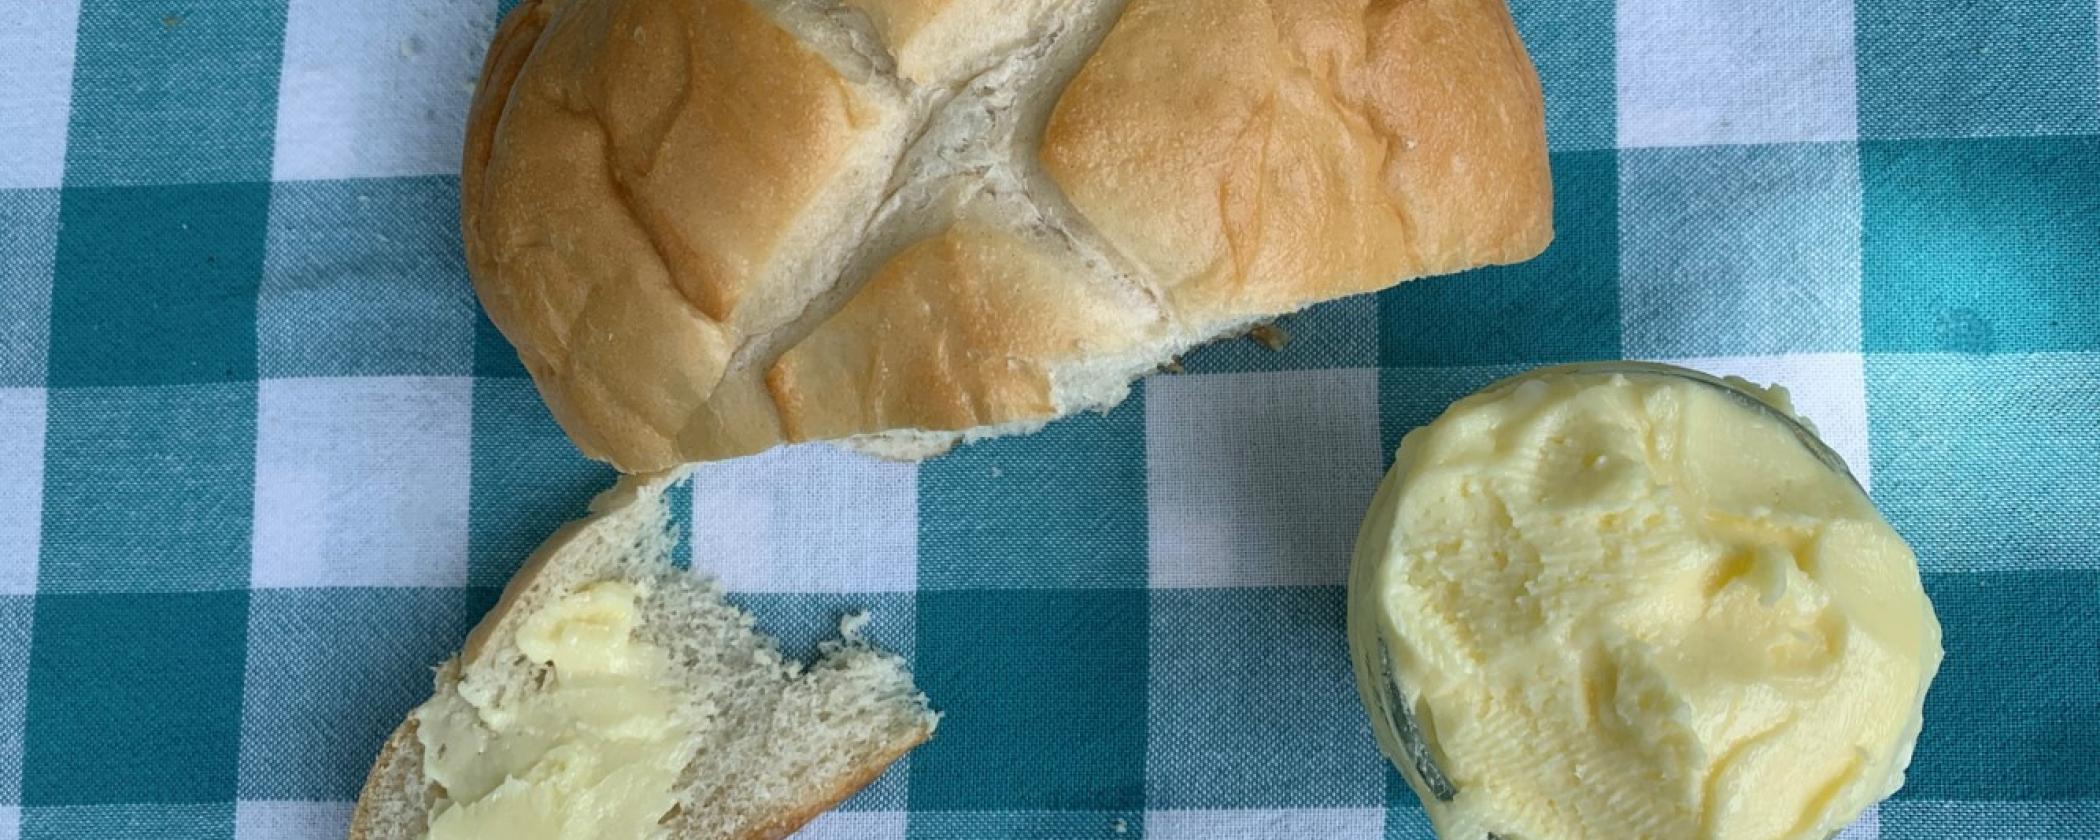
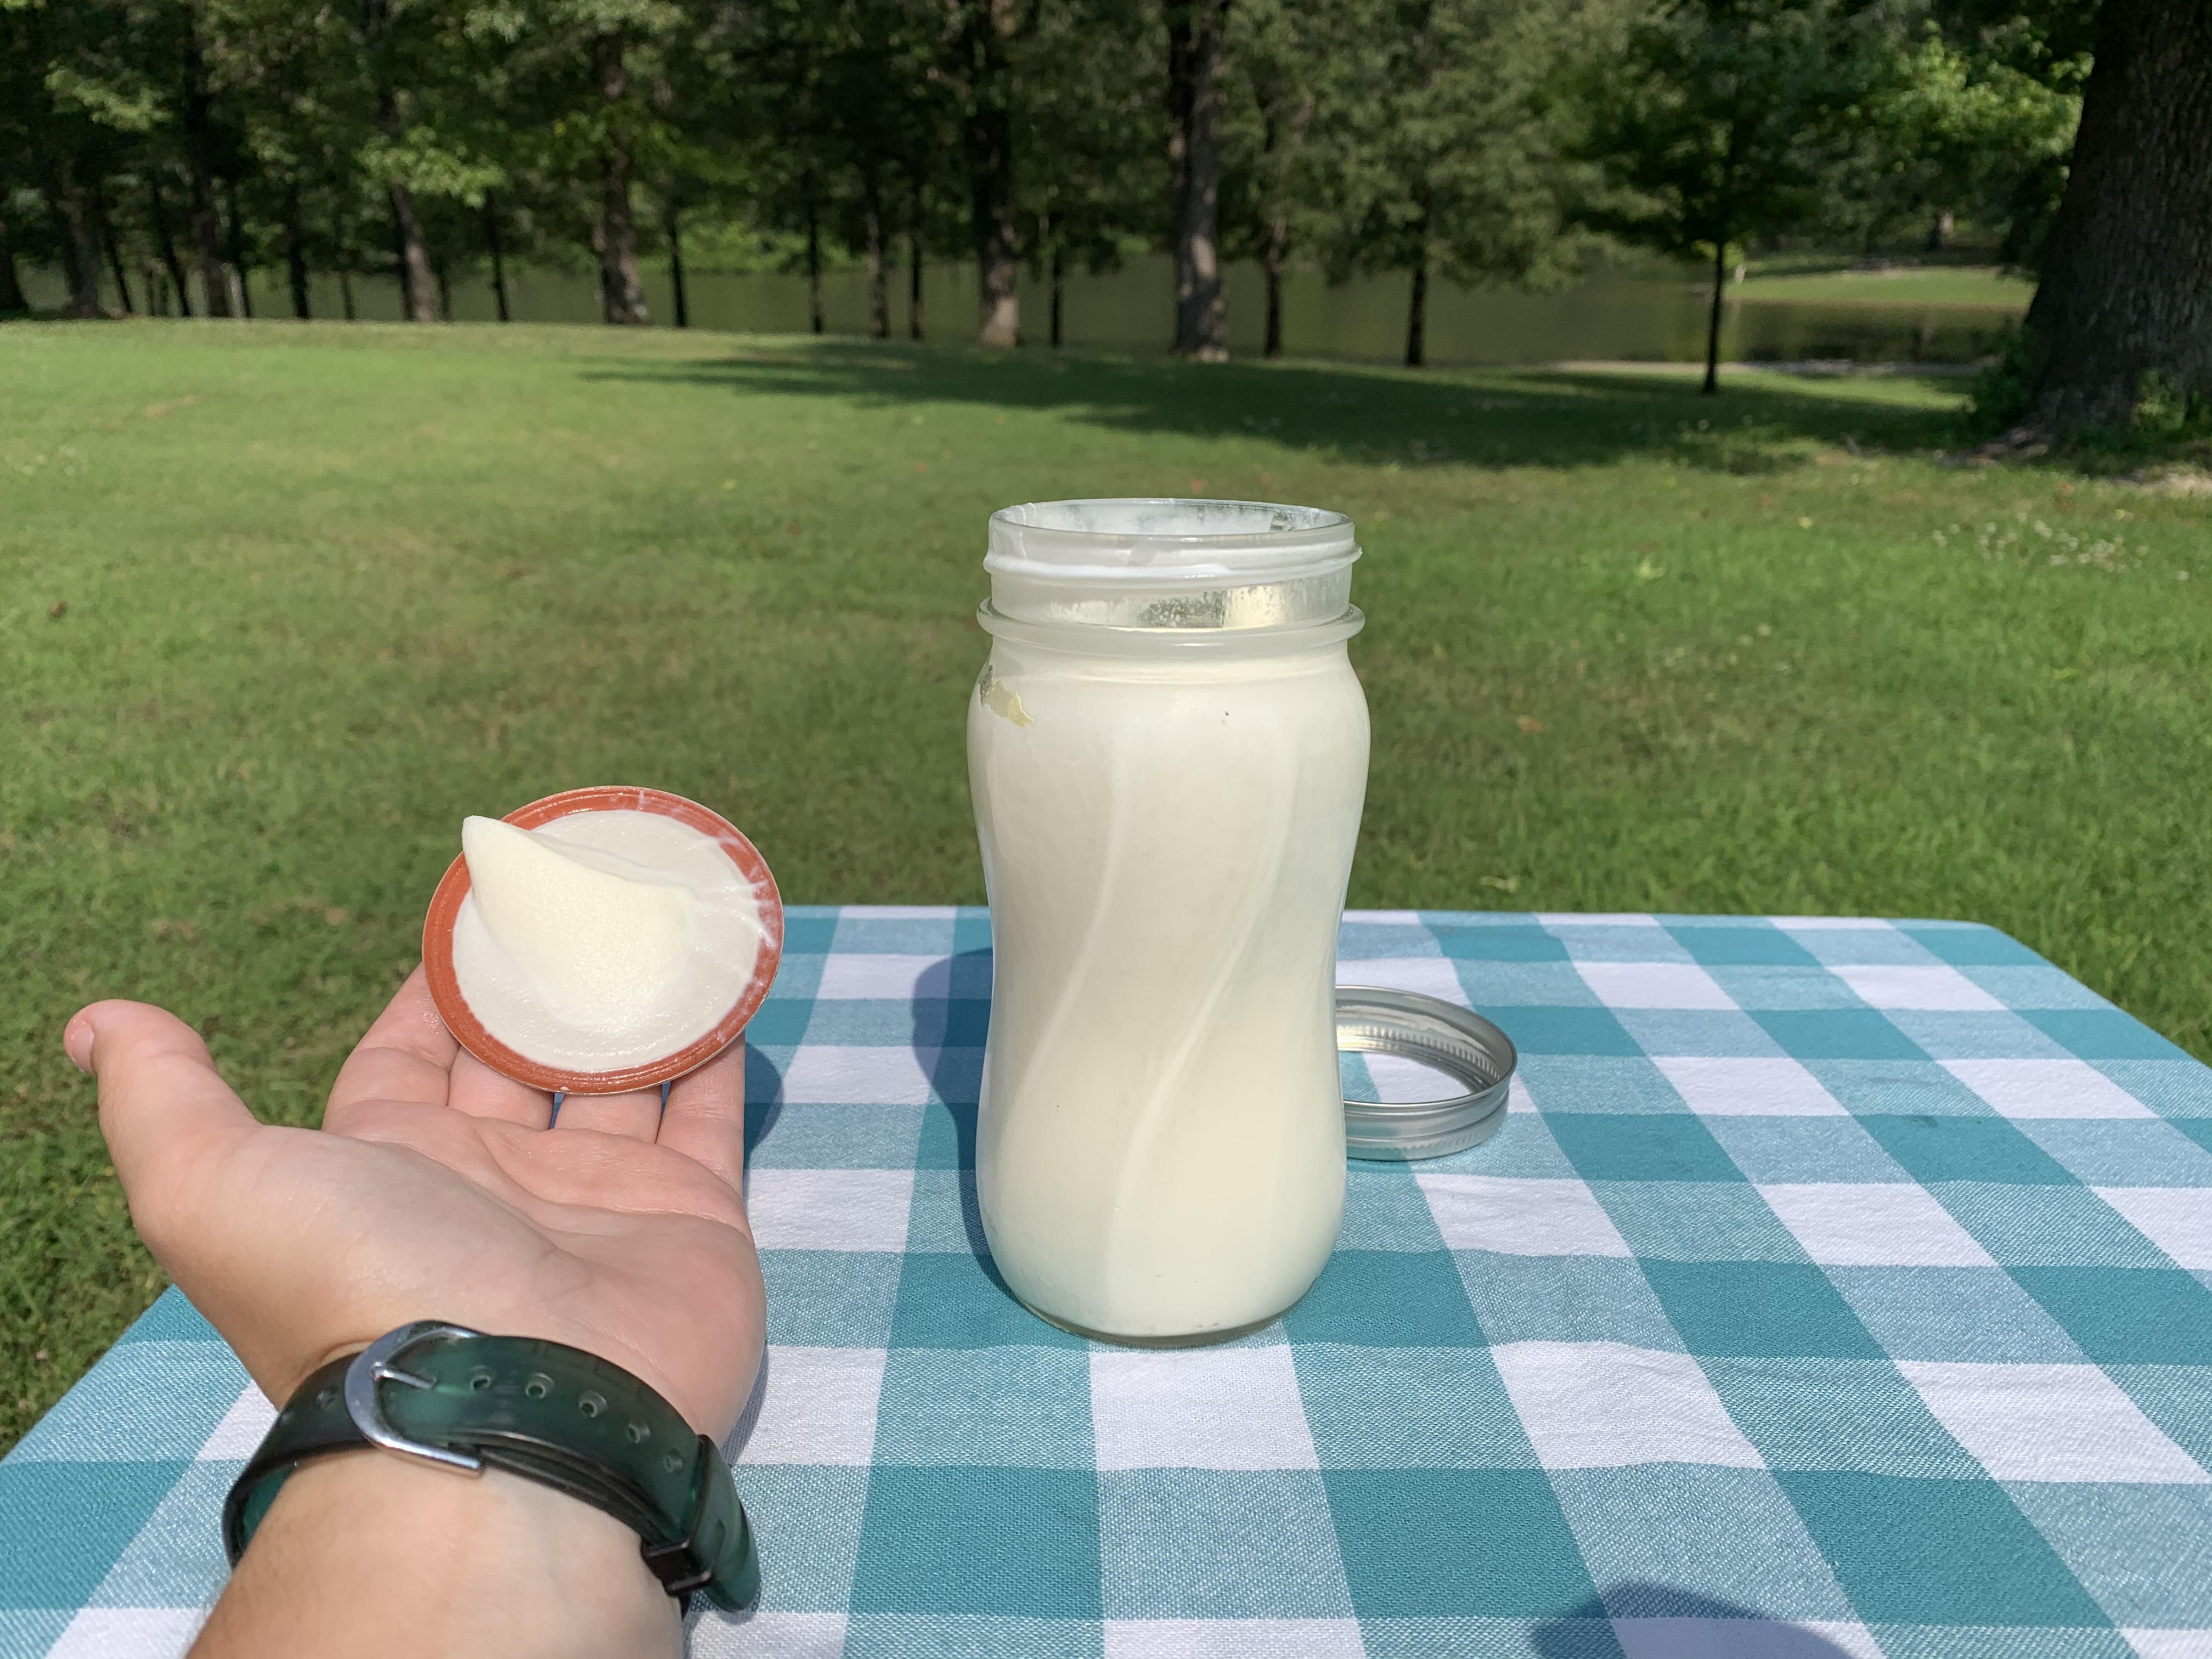
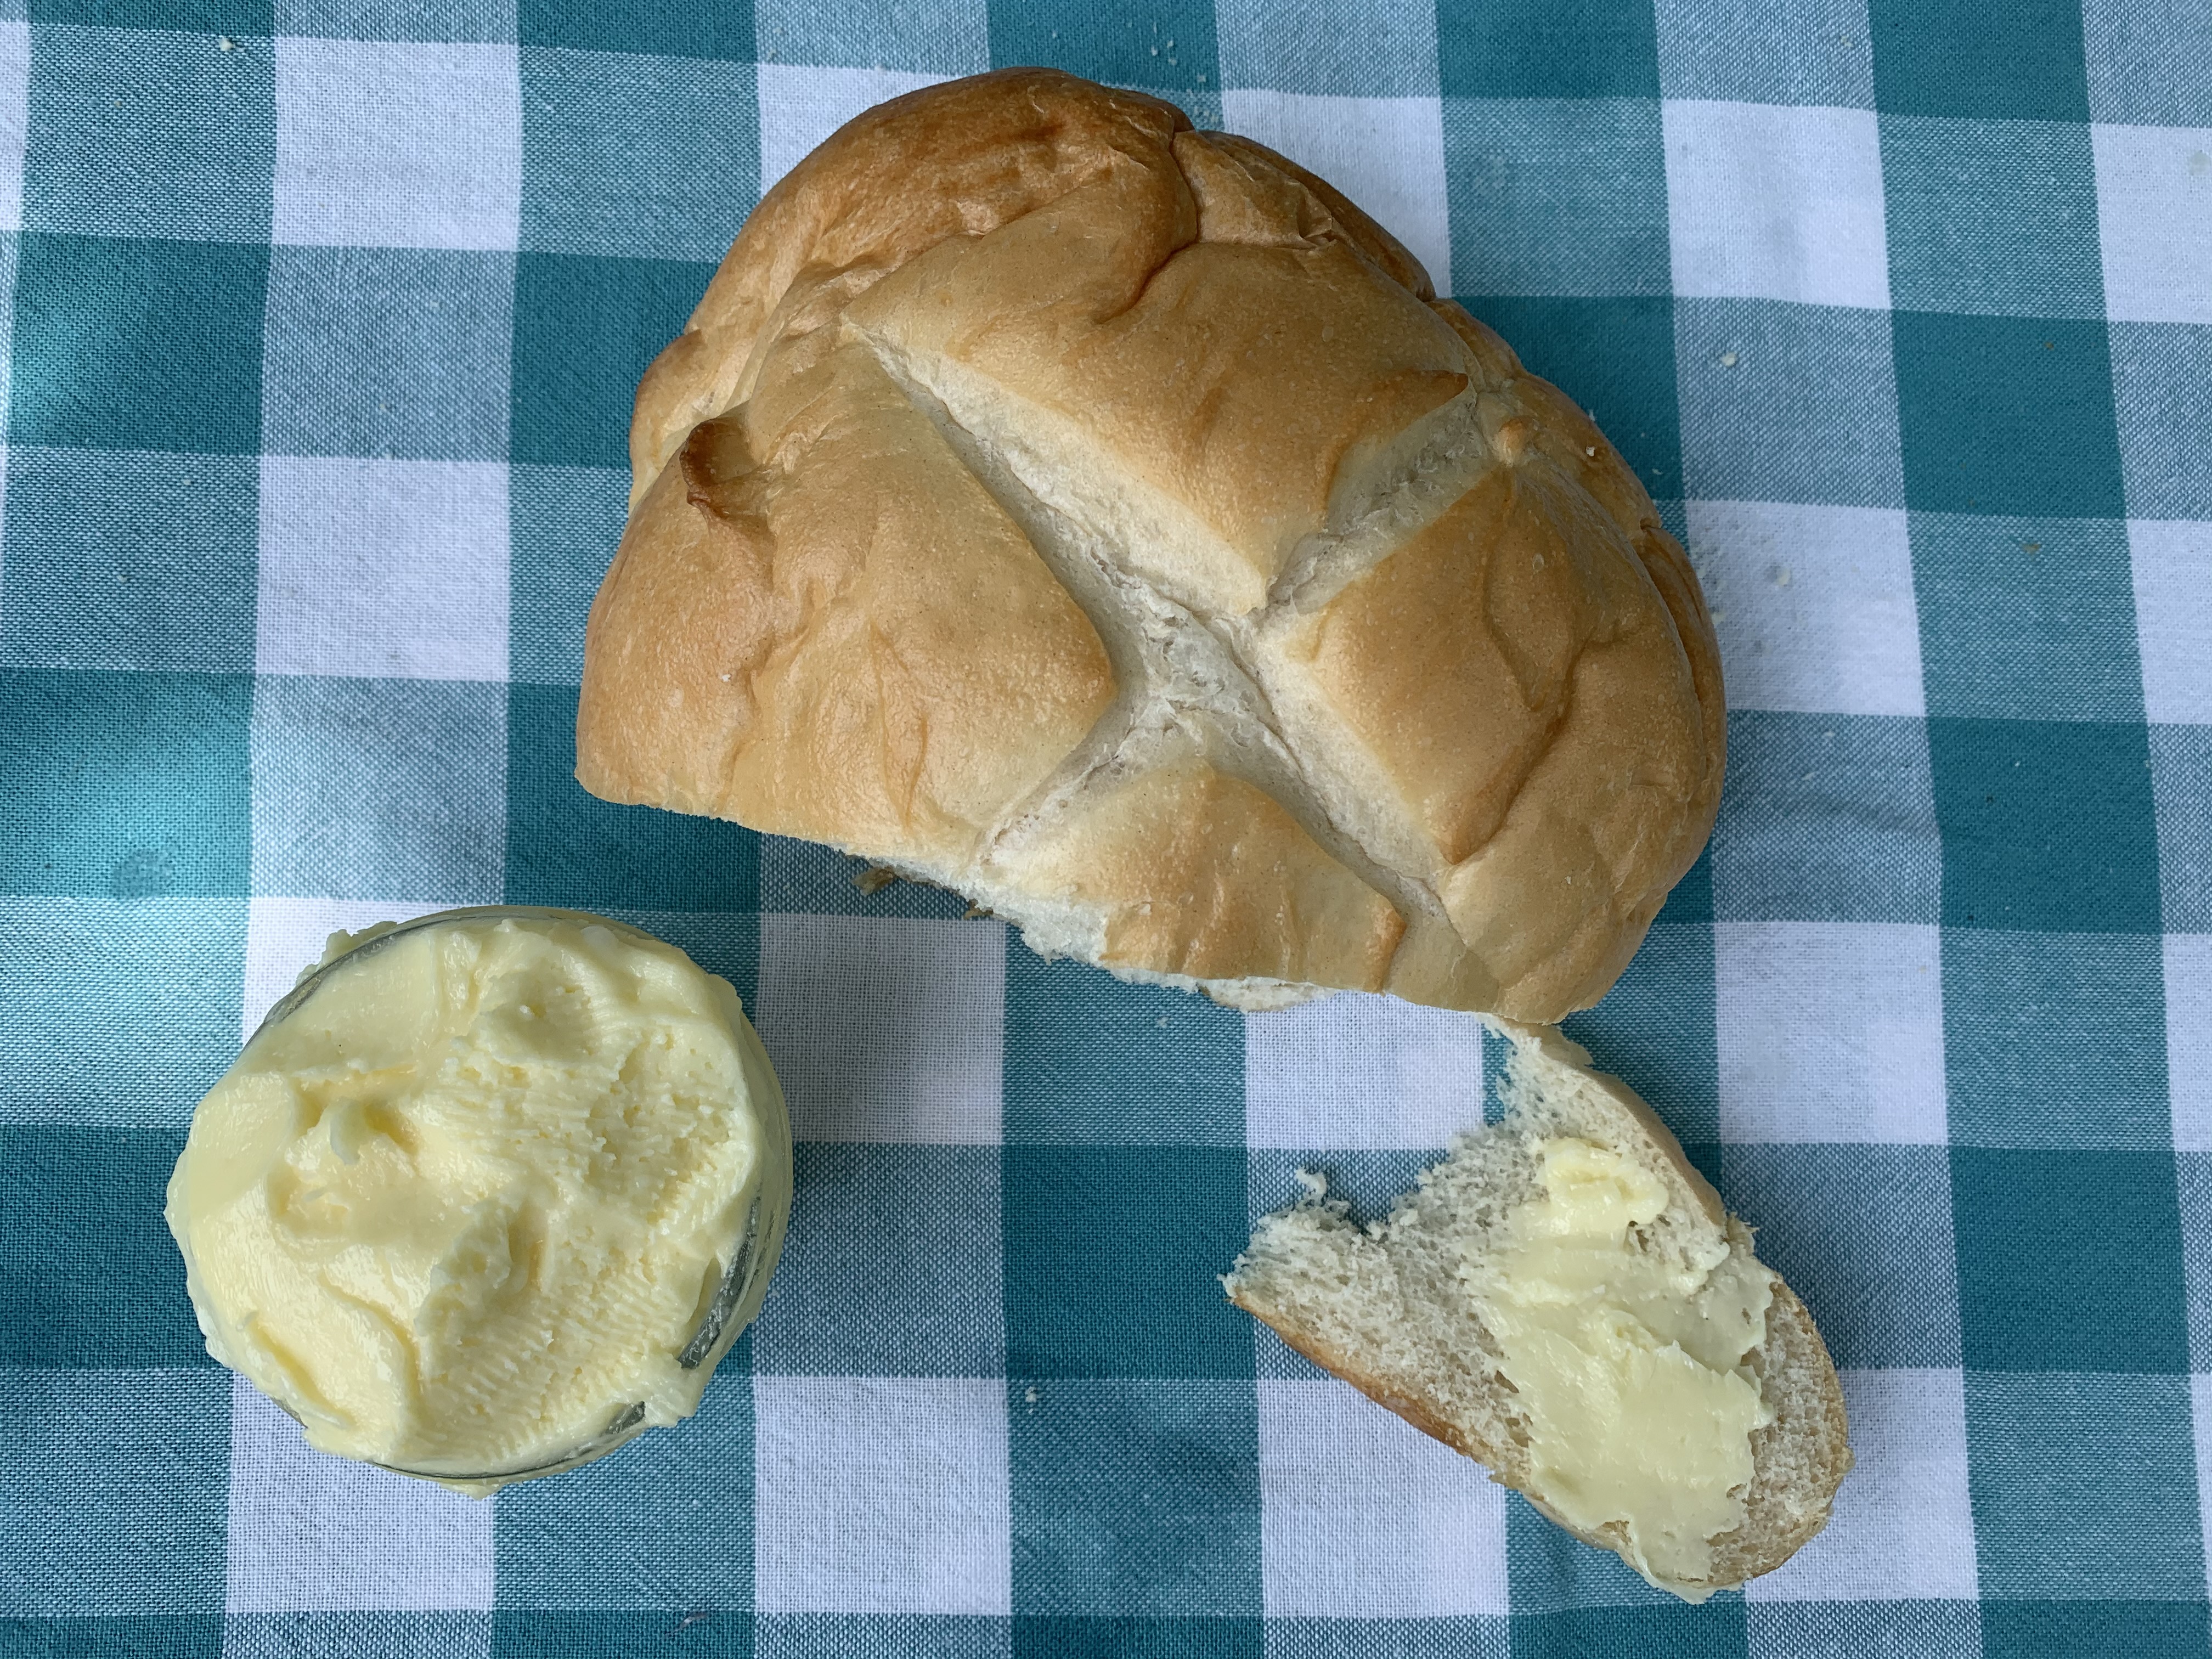
After washing the butter, put it in your butter container and enjoy!
While this may be a fun activity for us today, it would have been one of the many chores for the people of historic Davidsonville to provide a good meal for their families. You can do this activity at home, or perhaps you want to do it at your campsite while visiting the park! Check out our park webpage to learn more about the park and make your camping reservations.
If you enjoyed this activity let us know by posting a picture of your own creations and tagging Arkansas State Parks on Facebook or Instagram or using the hashtag #ARStateParks.
Sarah Reap
Sarah Reap has been a park interpreter with Arkansas State Parks since May 2019. She is currently the Park Interpreter at Crater of Diamonds State Park where she has worked since September 2022. In her pass time she loves to go hiking with her dog and paddle boarding with her friends.